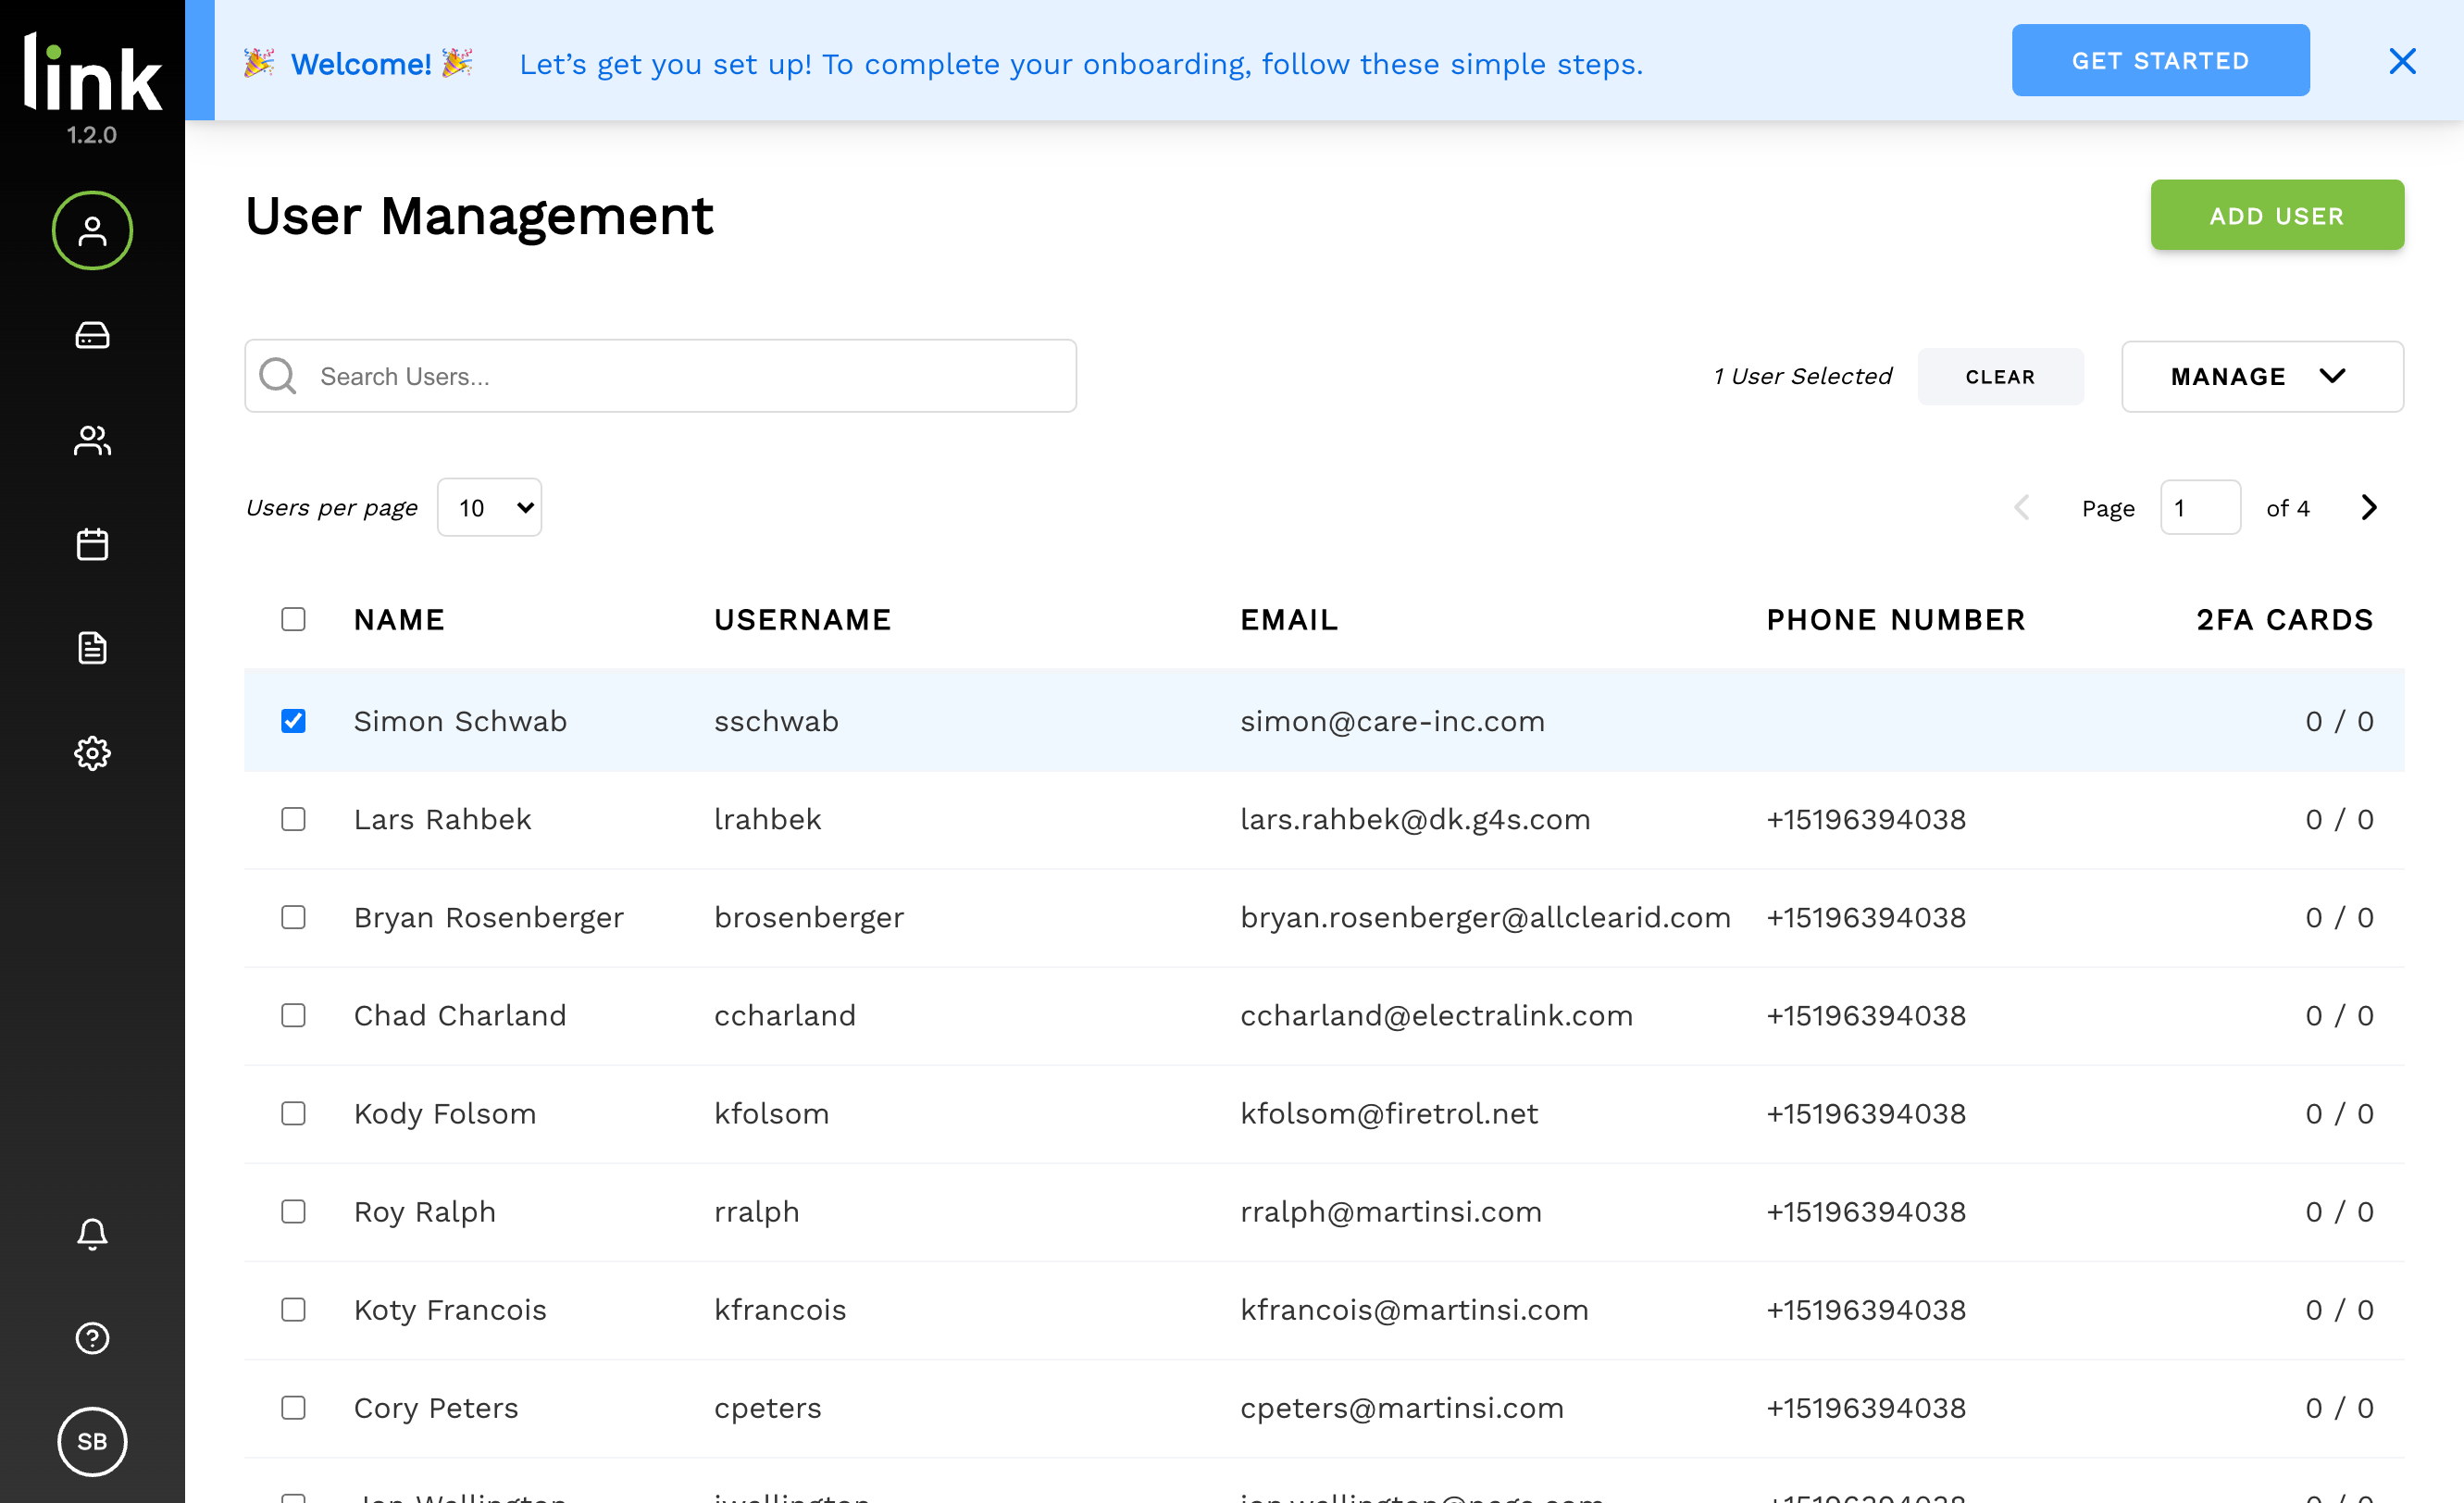
Door Installation Guide

Getting Started

In most environments, installing a Link device takes roughly 30 minutes. Below are step-by-step instructions to activate, install and wire your device.

Before You Open the Box

1. Ensure that your system is compatible with the Link.

  • Card Readers: Any wiegand card readers will work with your B.Link Device. We recommend using an HID reader for best results.
  • Software: No Additional software is required but you must have your Multi Factor Authentication (MFA) configured and installed.

2. Make sure your BioConnect account has been created.

  • Upon purchasing a device, an email was sent to you that included a username, password and subdomain that you will need to gain access to the Console.
  • Search ‘BioConnect Link’ in your inbox.

3. Ensure you have what you need at your installation site.

  • You must have physical access to your Access Control Panel.
  • A 12VDC power supply or ethernet with PoE is required to power BioConnect Link.
  • Access to an ethernet port with internet connectivity.
  • A Phillips or flathead screwdriver.
Please contact support if you require additional help.

Wiring the Device

Overview

The reader will be connected to the Wiegand input terminal on the Link device.

The Wiegand output from the Link device will be connected to the wiegand input port on the Access Control Panel.

After completing the following steps, your installation will look like this:

Note: The GND for the Reader and Link device should be going to the same terminal so the Link, Reader, and Access Control Panel all have a common ground.

Tip: Take a photo of your current wiring setup as you will be adding a new cable into these ports.

Wiring the Device

1. On the Access Control Panel, identify the reader port corresponding with the Card Reader that will be connected to the Link device.

2. Disconnect the wires from the Card Reader port on the Access Control Panel.

3. Using an additional 22-6 or 22-4 cable, connect the data 0, data 1 and GND wires into the Access Control Panel (where the Card Reader ports were originally connected).

4. Connect the data 0 and data 1 wires from the Card Reader into the wiegand input of Door 0 on the Link device.

5. Connect the data 0 and data 1 wires from the Access Control Panel into the wiegand output of Door 0 on the Link device.

6. Connect the GND wires from the Access Control Panel and the Card Reader into the GND input so that there are two wires in to the same GND terminal on Door 0.

Tip: Before inserting the wires, twist the GND wires together.

7. Connect both of the LED wires from the Access Control Panel and the Card Reader into the LED terminal so that there are two wires connected to the same LED terminal on Door 0. [Optional]

  • This step ensures that the LED provides feedback to card taps and allows for feedback such as LED flashing red and green on the card reader while awaiting Multi-Factor Authentication (MFA) from user. 

8. Connect the power wires running from the Access Control Panel and the Card reader by twisting them together and covering them with a wire connector, marret or equivalent. 

9. Confirm all connections are secure. 

Powering the Device

After completing the connections between the Access Control Panel and the Card Reader, you will now power the device using either 12VDC or PoE.

Power using 12VDC

  • Connect the 12VDC+- wires into the Power and GND terminals on the Link device.
  • For internet connection, you must also plug the ethernet cord into the Link device ethernet port.

Power using PoE

  • Plug the ethernet cord into the Link device ethernet port to power and connect the device.

Once completed, confirm all connections are secure.

Mounting the Device

In order to mount the device, you will need two 3mm diameter screws. Choose a mounting location that is near the access control panel you are connecting the device to and use the screw holes on the device to mount it.

Activating the Device

Overview

For this step, a laptop or smartphone, the Link device and an ethernet connection with internet access is required. The Link device will be activated by adding it to the BioConnect Link Console.

Adding a Link to Your Account

1. On a desktop or mobile device, open a browser and navigate to the BioConnect Link Console.

2. Enter login information.

Tip: Login information can be found in the email that was sent immediately after purchasing the device.

3. Navigate to the ‘Device Management’ page.

4. Select ‘Add Device’.

5. Enter the 12 digit key located beside the QR code on your device and click ‘Continue’.

Note: Adding more than one device? Learn how to scan a QR code in Appendix A.

6. Select whether you are setting up your device for (1) a normal Physical Door or (2) a Server Cabinet.

Note: A door allows you to secure 4 access points and a Cabinet allows you to secure 2 access points.

  • Door Access allows you to use your Link to enable 2FA on a regular door by enabling stepup with your digital Multi Factor Authentication. The Link device is before an Access Control Panel and the Access Control Panel is still controlling the final door lock.
  • Server cabinet access allows you to use Link to enable 2FA on a cabinet and track cabinet door open or close status, as well as firing the relay

7. Give a descriptive name for each access point.

  • Be descriptive, ex. Main Entrance.

Software Setup

    Overview

    Setting up the software will include connection a Two-Factor Authenticator to enable step-up notifications.


      Configuring Authenticators


      1. In your browser, navigate to the BioConnect Link Console and login using your credentials.

      2. Navigate to the ‘Configuration’ page.

      3. Select your authenticator and enter the required credentials to activate your authenticator.

      Note: If you do not currently use an authenticator, select the ‘BioConnect’ authenticator.

      4. If you choose to use the BioConnect Mobile Authenticator, you have the option of using either a ‘Simple Yes/No’ Authentication or Biometric Authentication.

      Configuring a Schedule

      1. In the BioConnect Console, navigate to the ‘Schedule’ page.

      2. Select ‘Set Schedule’.

      3. Enter the start date and end date that you wish to enforce step-ups.

      4. Enter the start time and end time that you wish to enforce step-ups.

      5. Select ‘Set Schedule’ to save your schedule.

      Note: Your schedule will appear at the top of the screen, review this to ensure you have properly set your desired schedule.

      Important: Users have NOT yet been added to the schedule – meaning, they will not receive step-ups until you enable them. (See below to enable users)

      Adding a User

      Overview

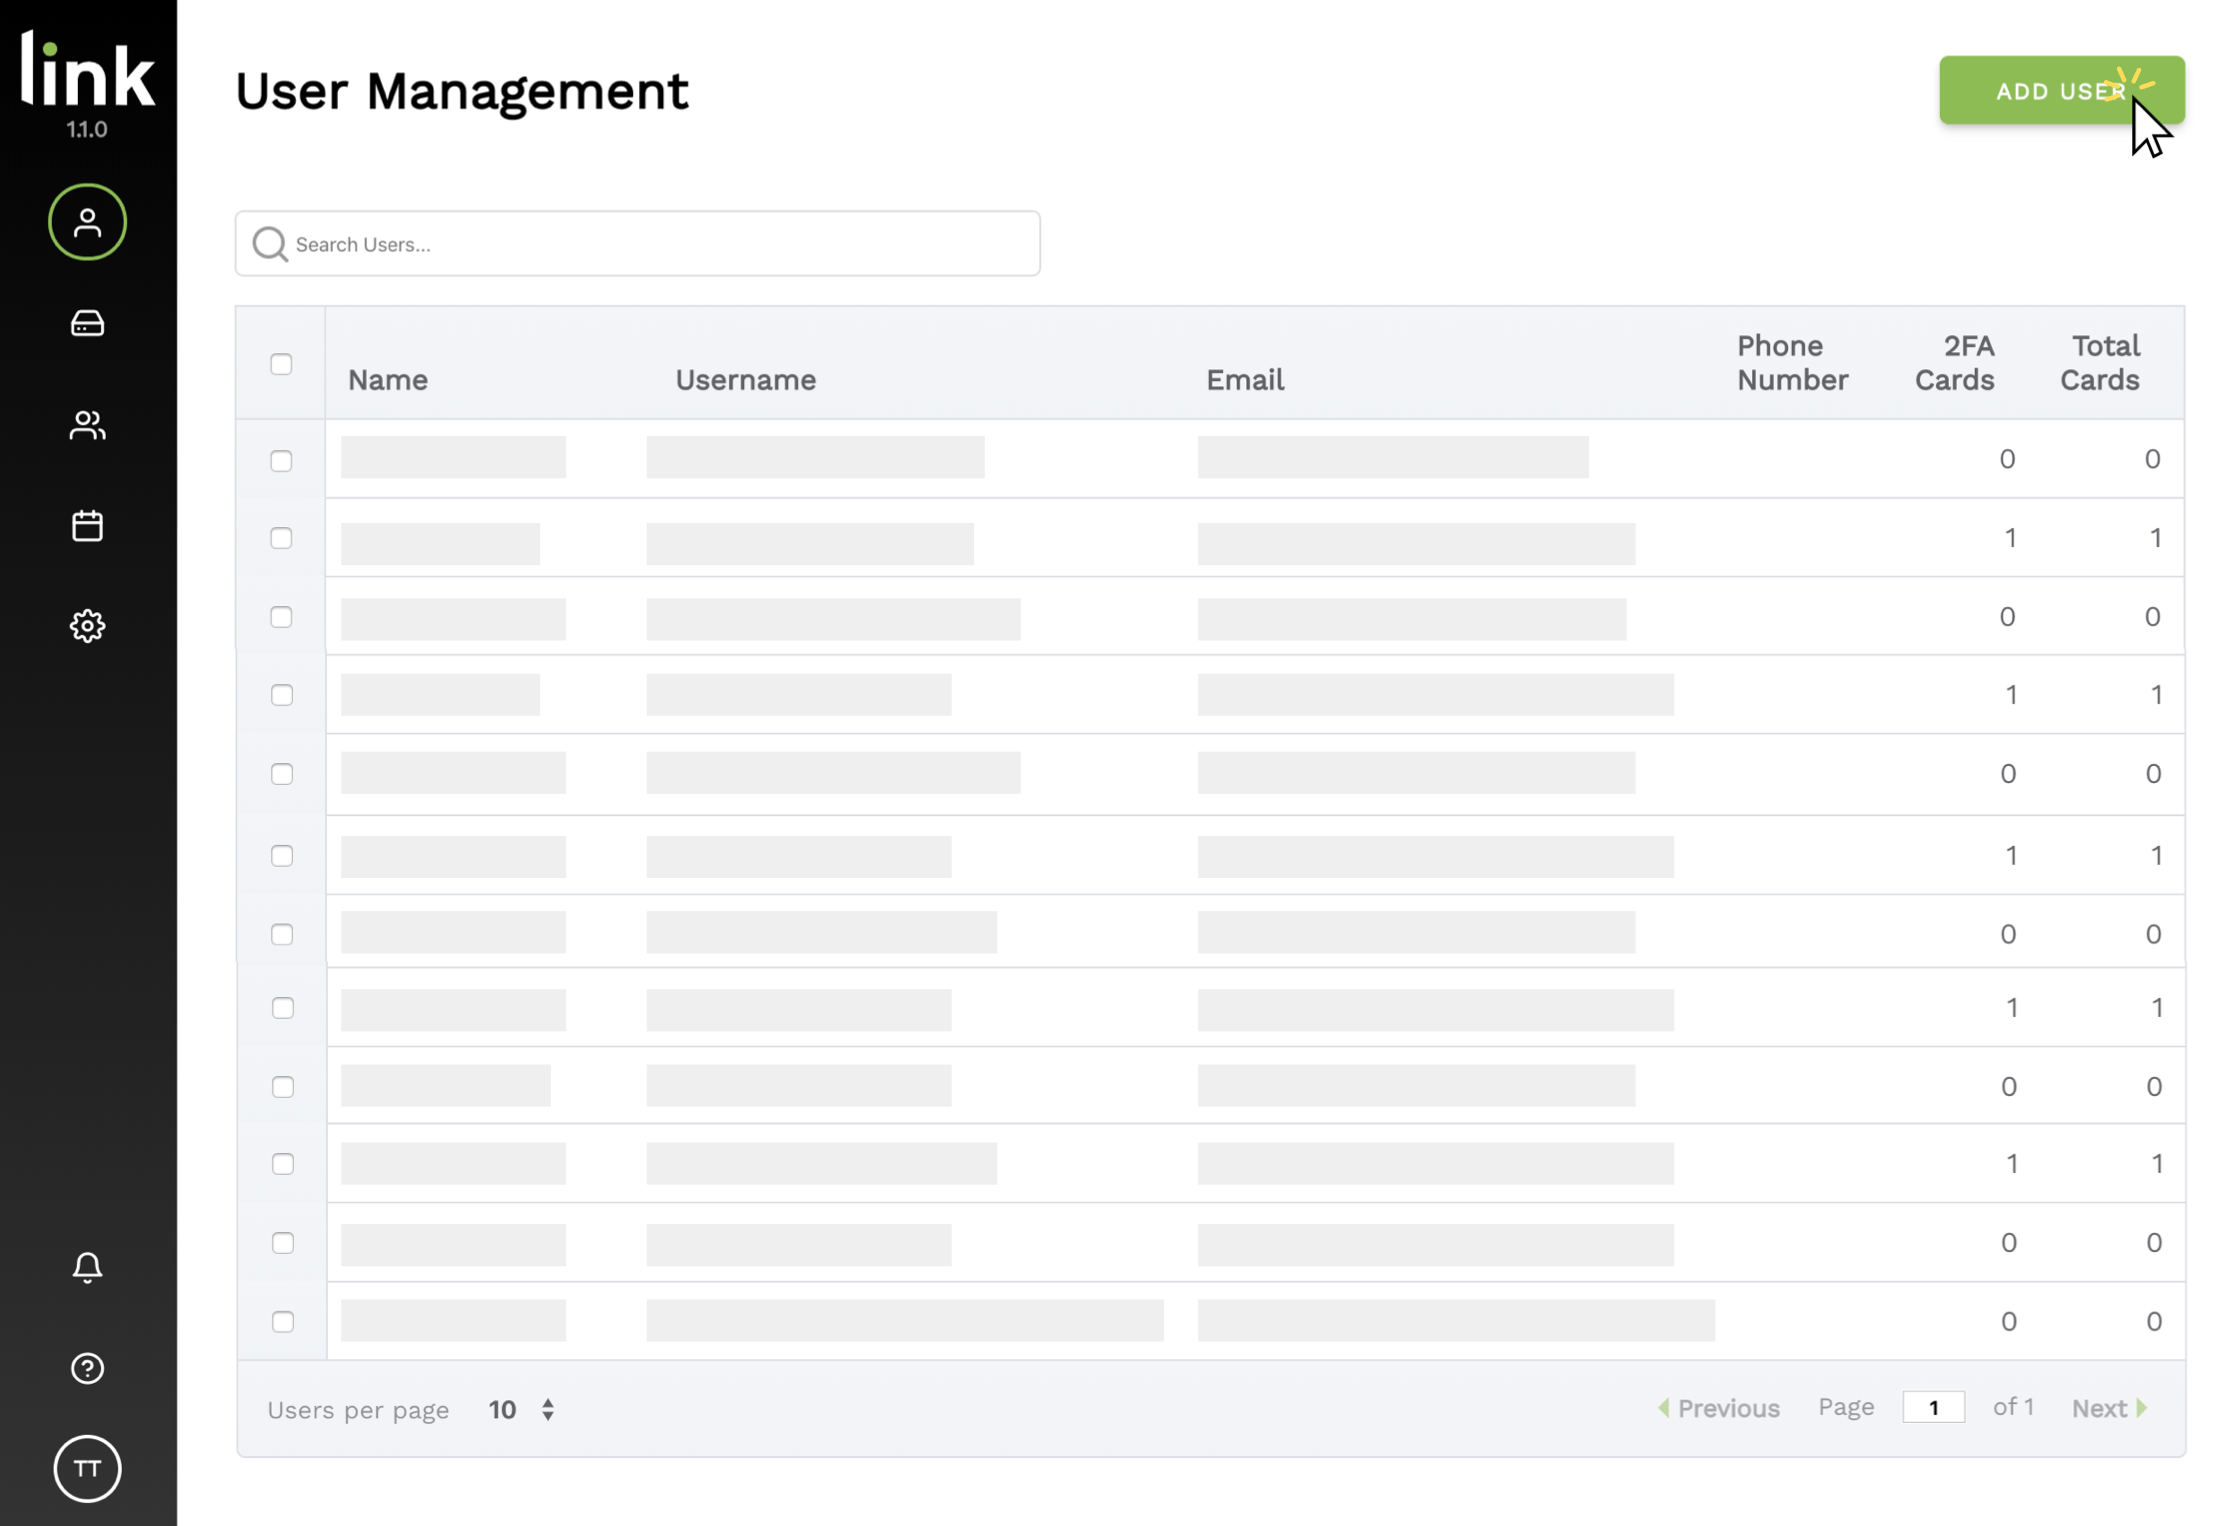
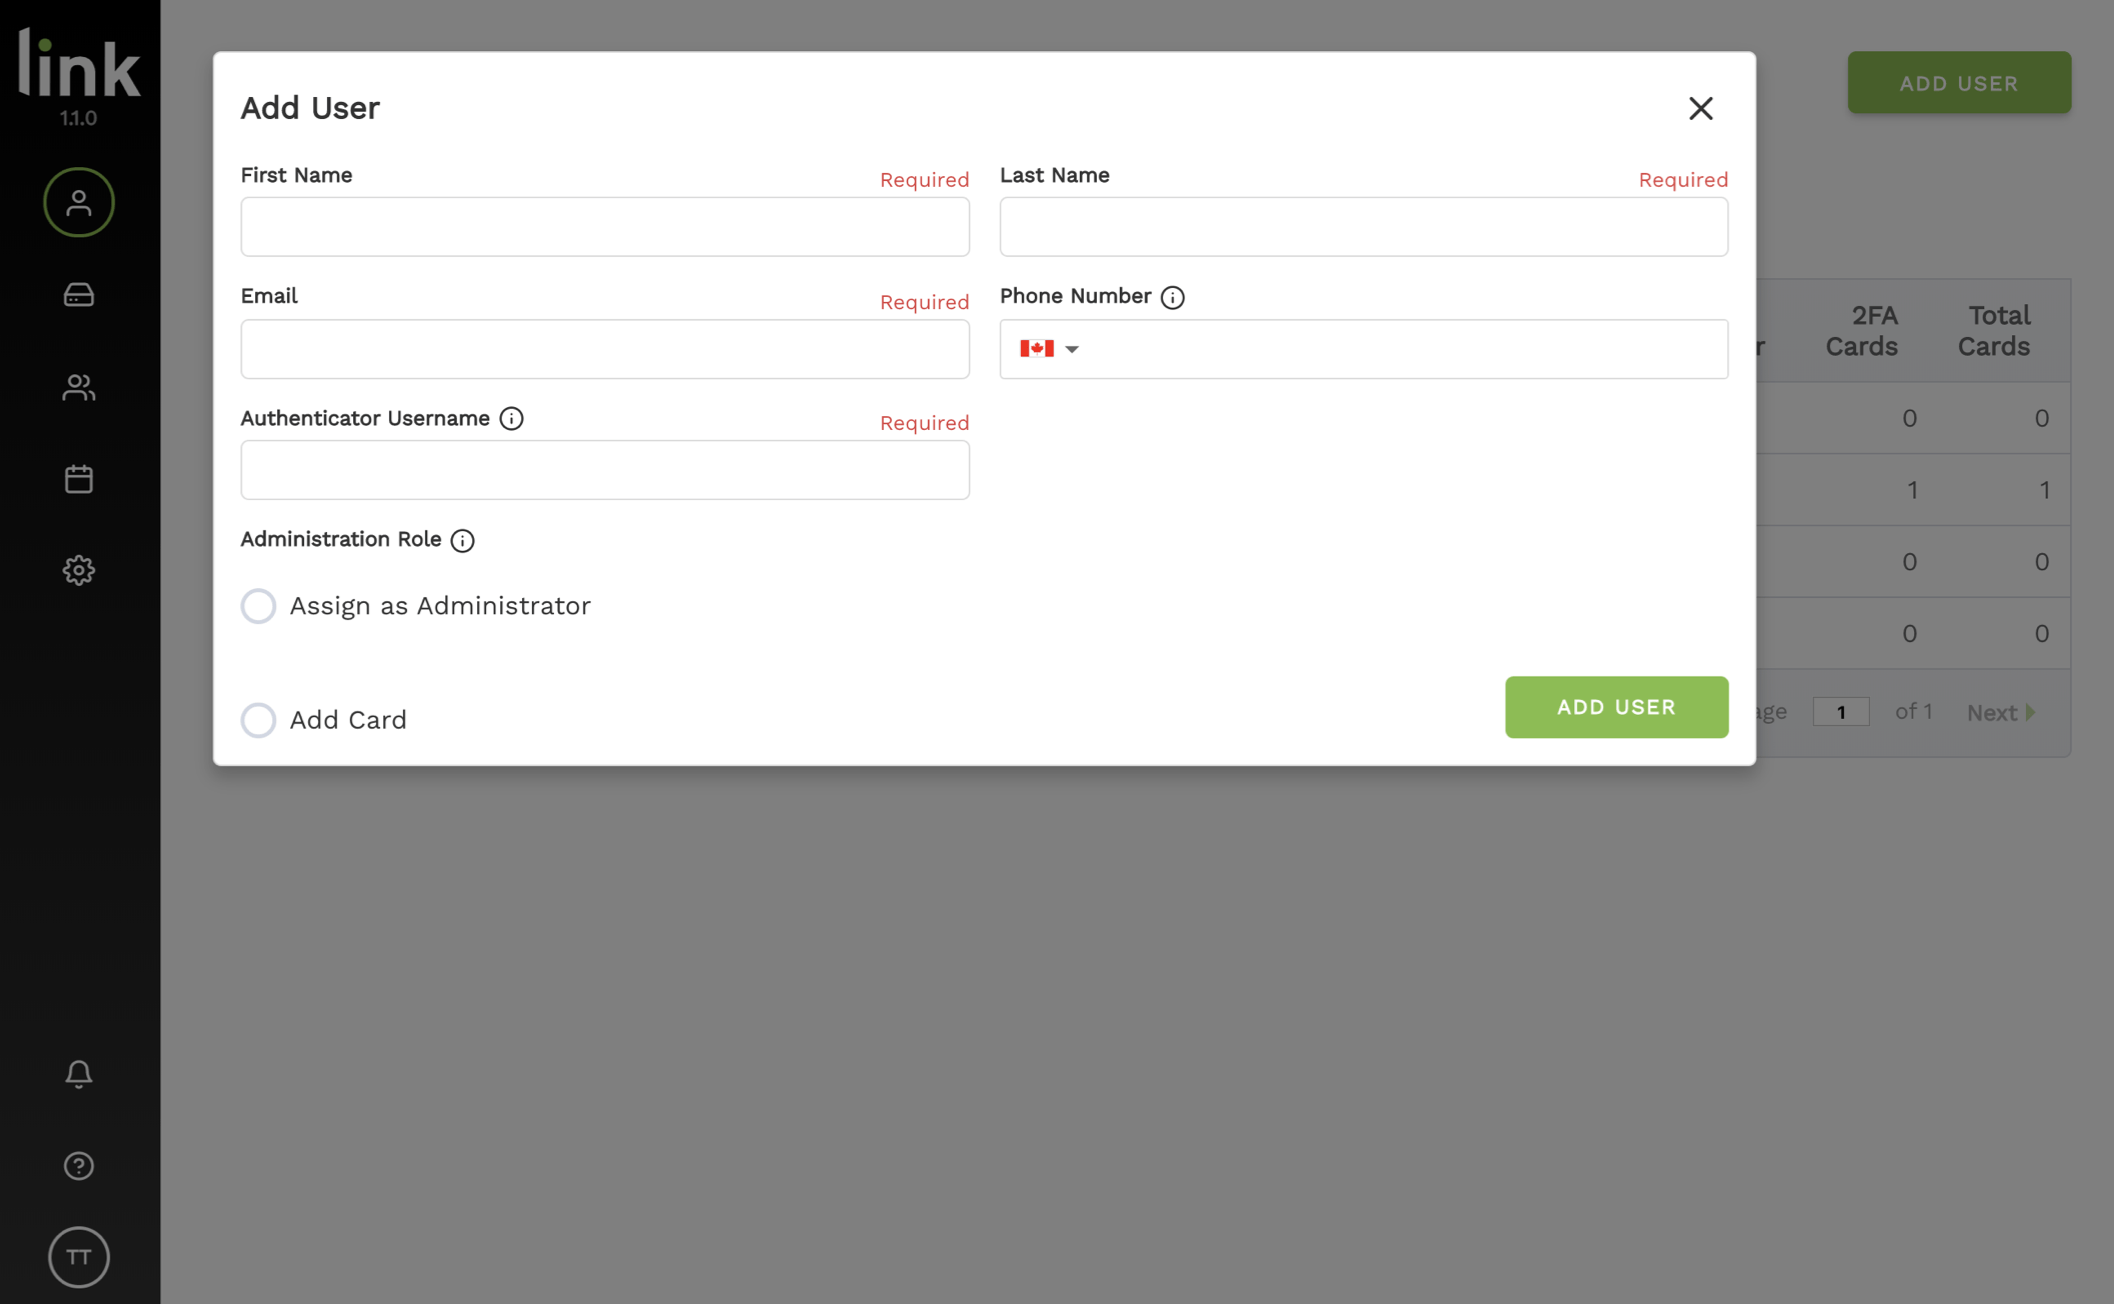
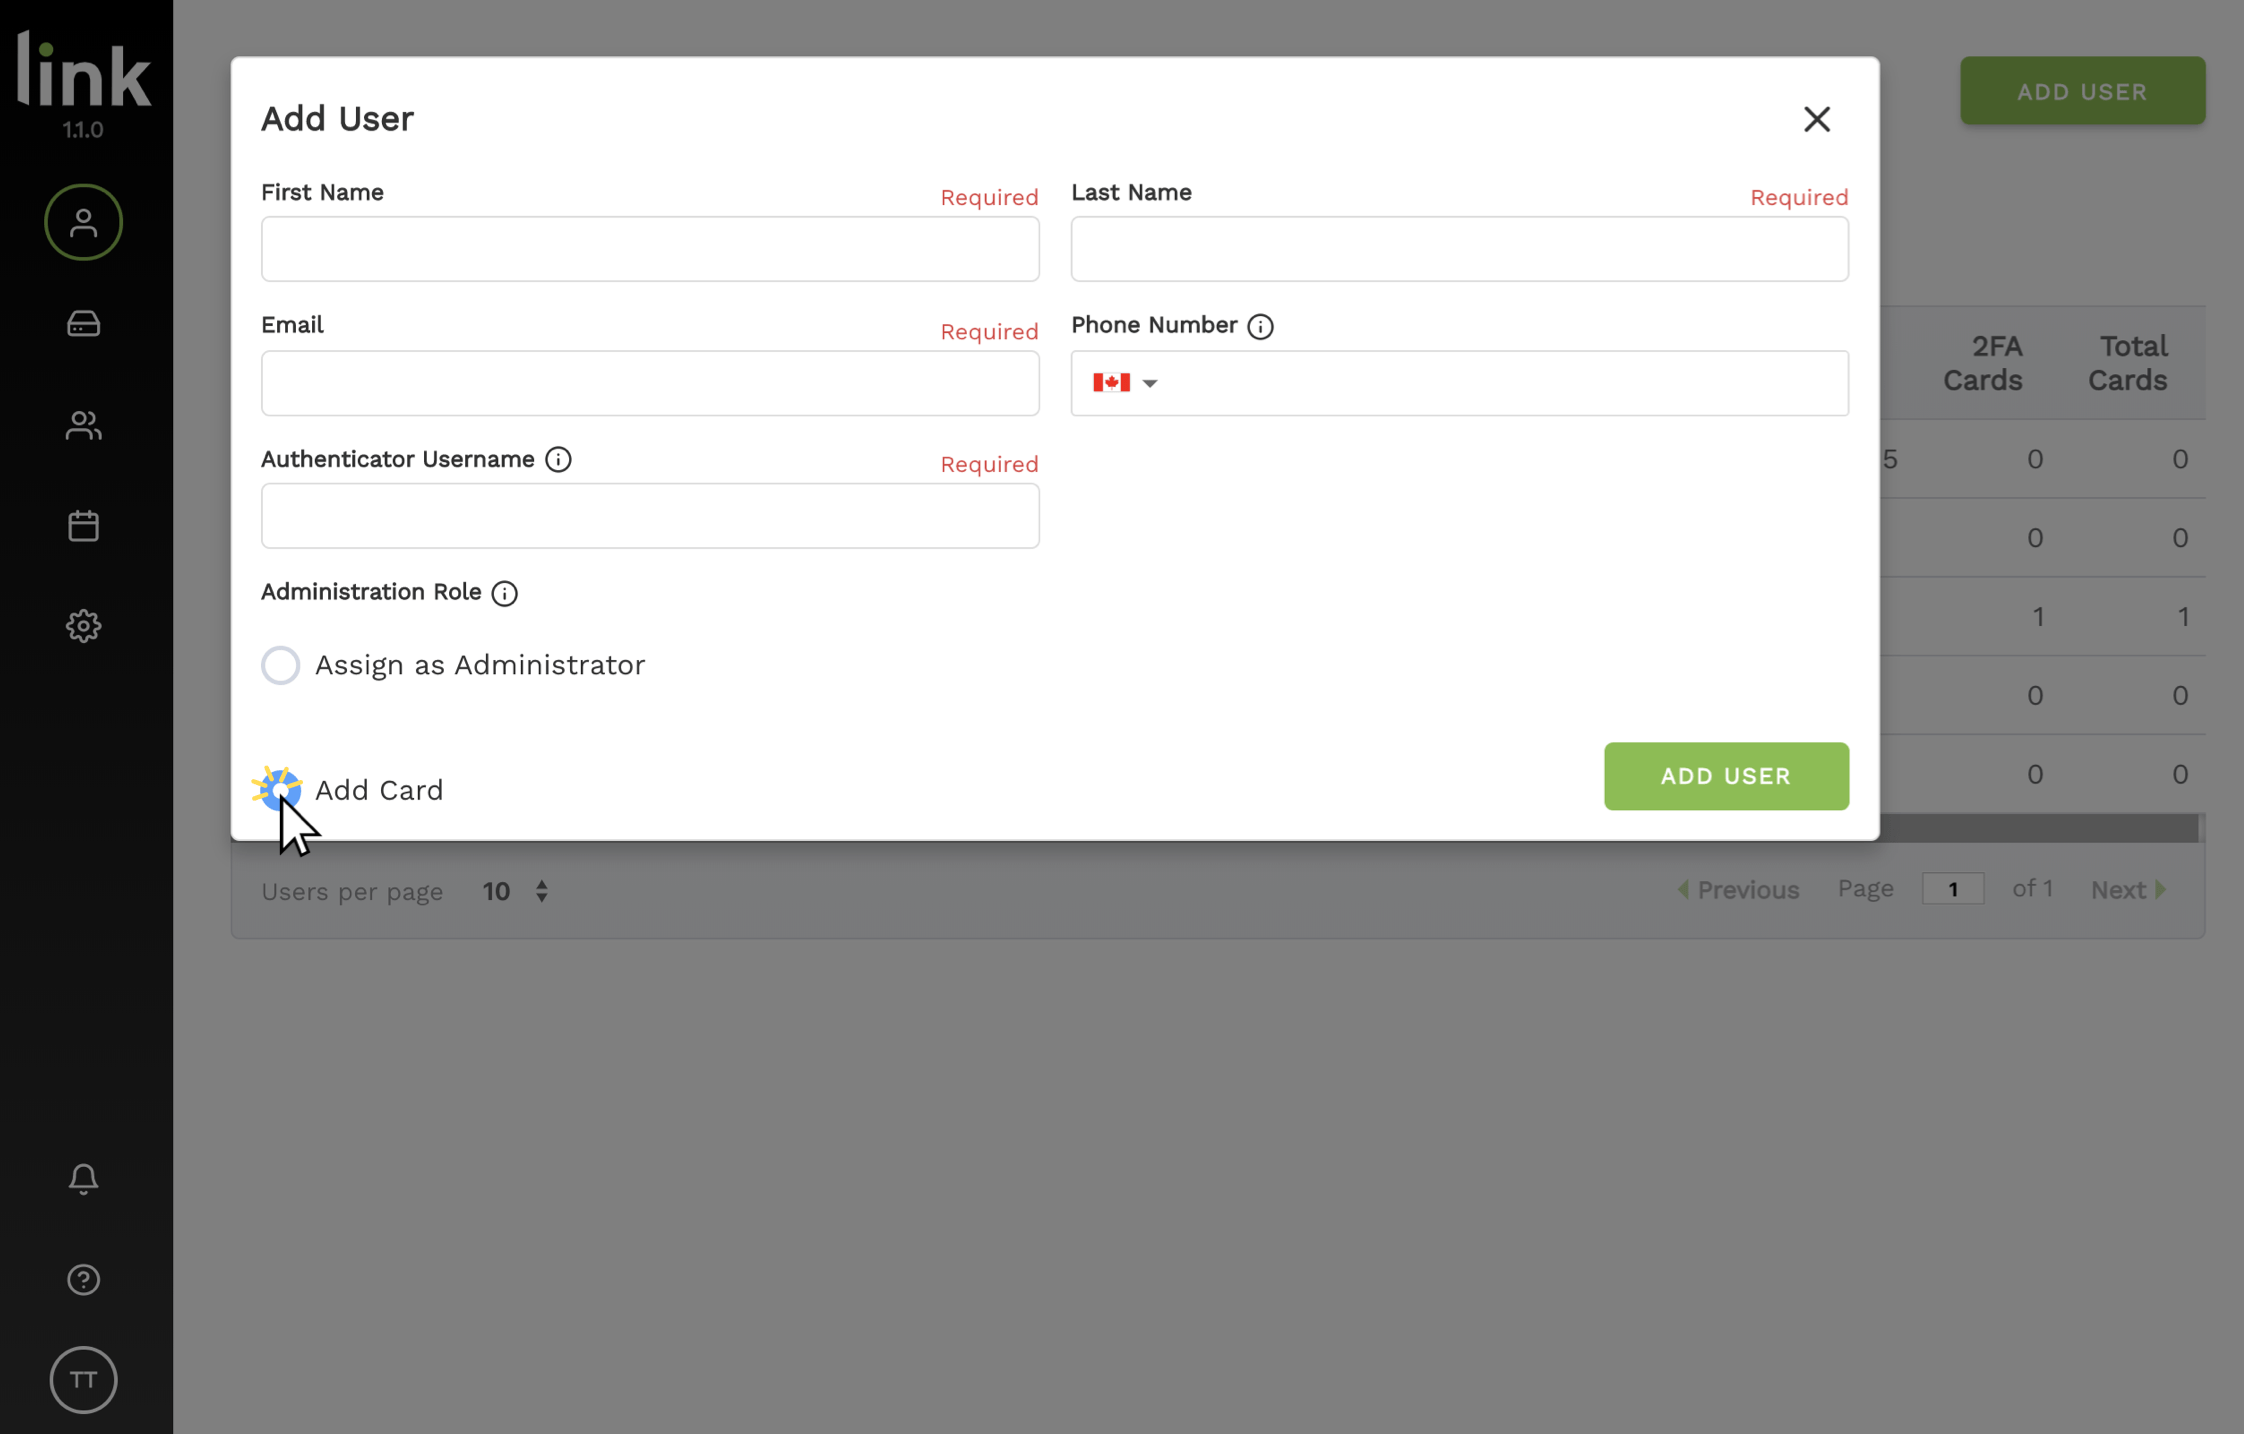
      To add users into the Link Console, you can either automatically sync them via the ACM Sync feature, or you can manually add users. To add users manually, skip to ‘Adding Users Manually’ below.

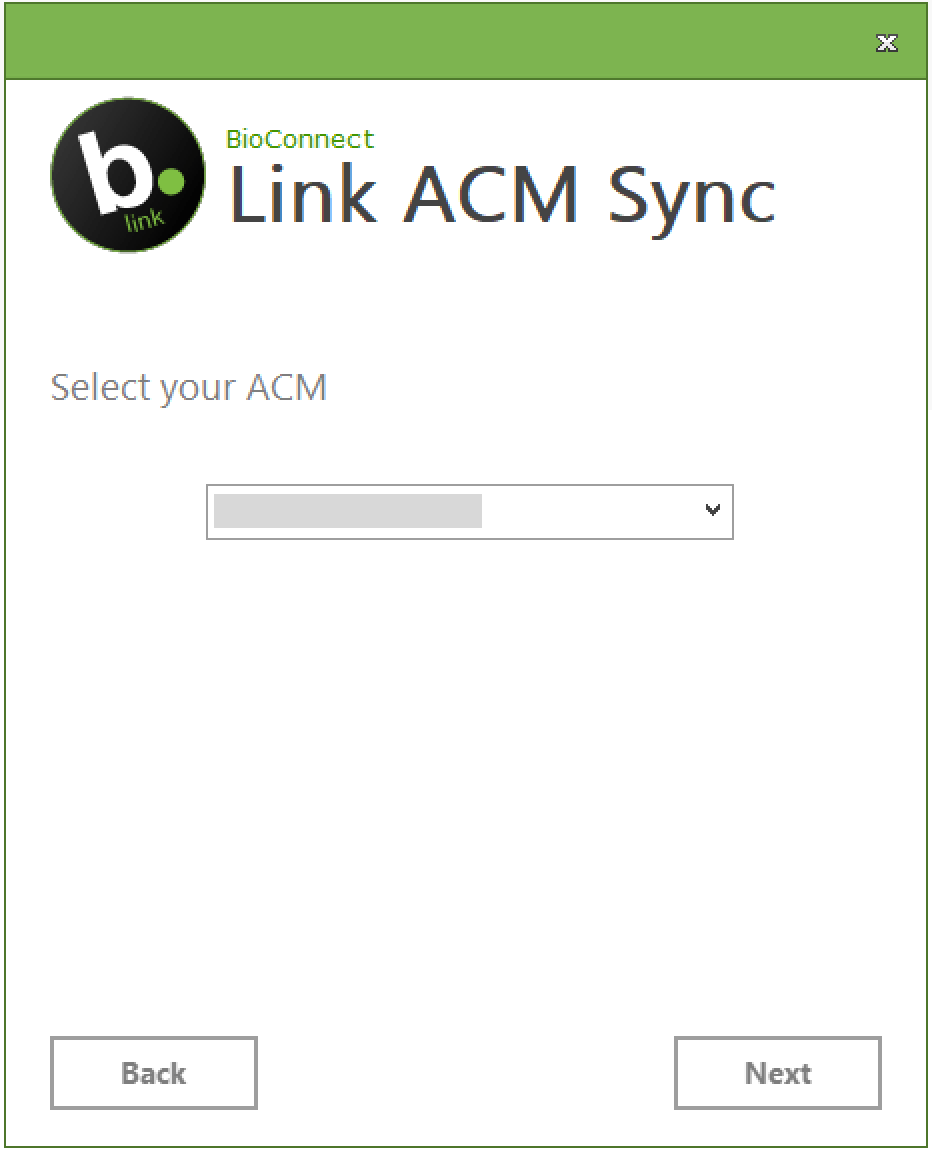
      Adding Users using ACM Sync

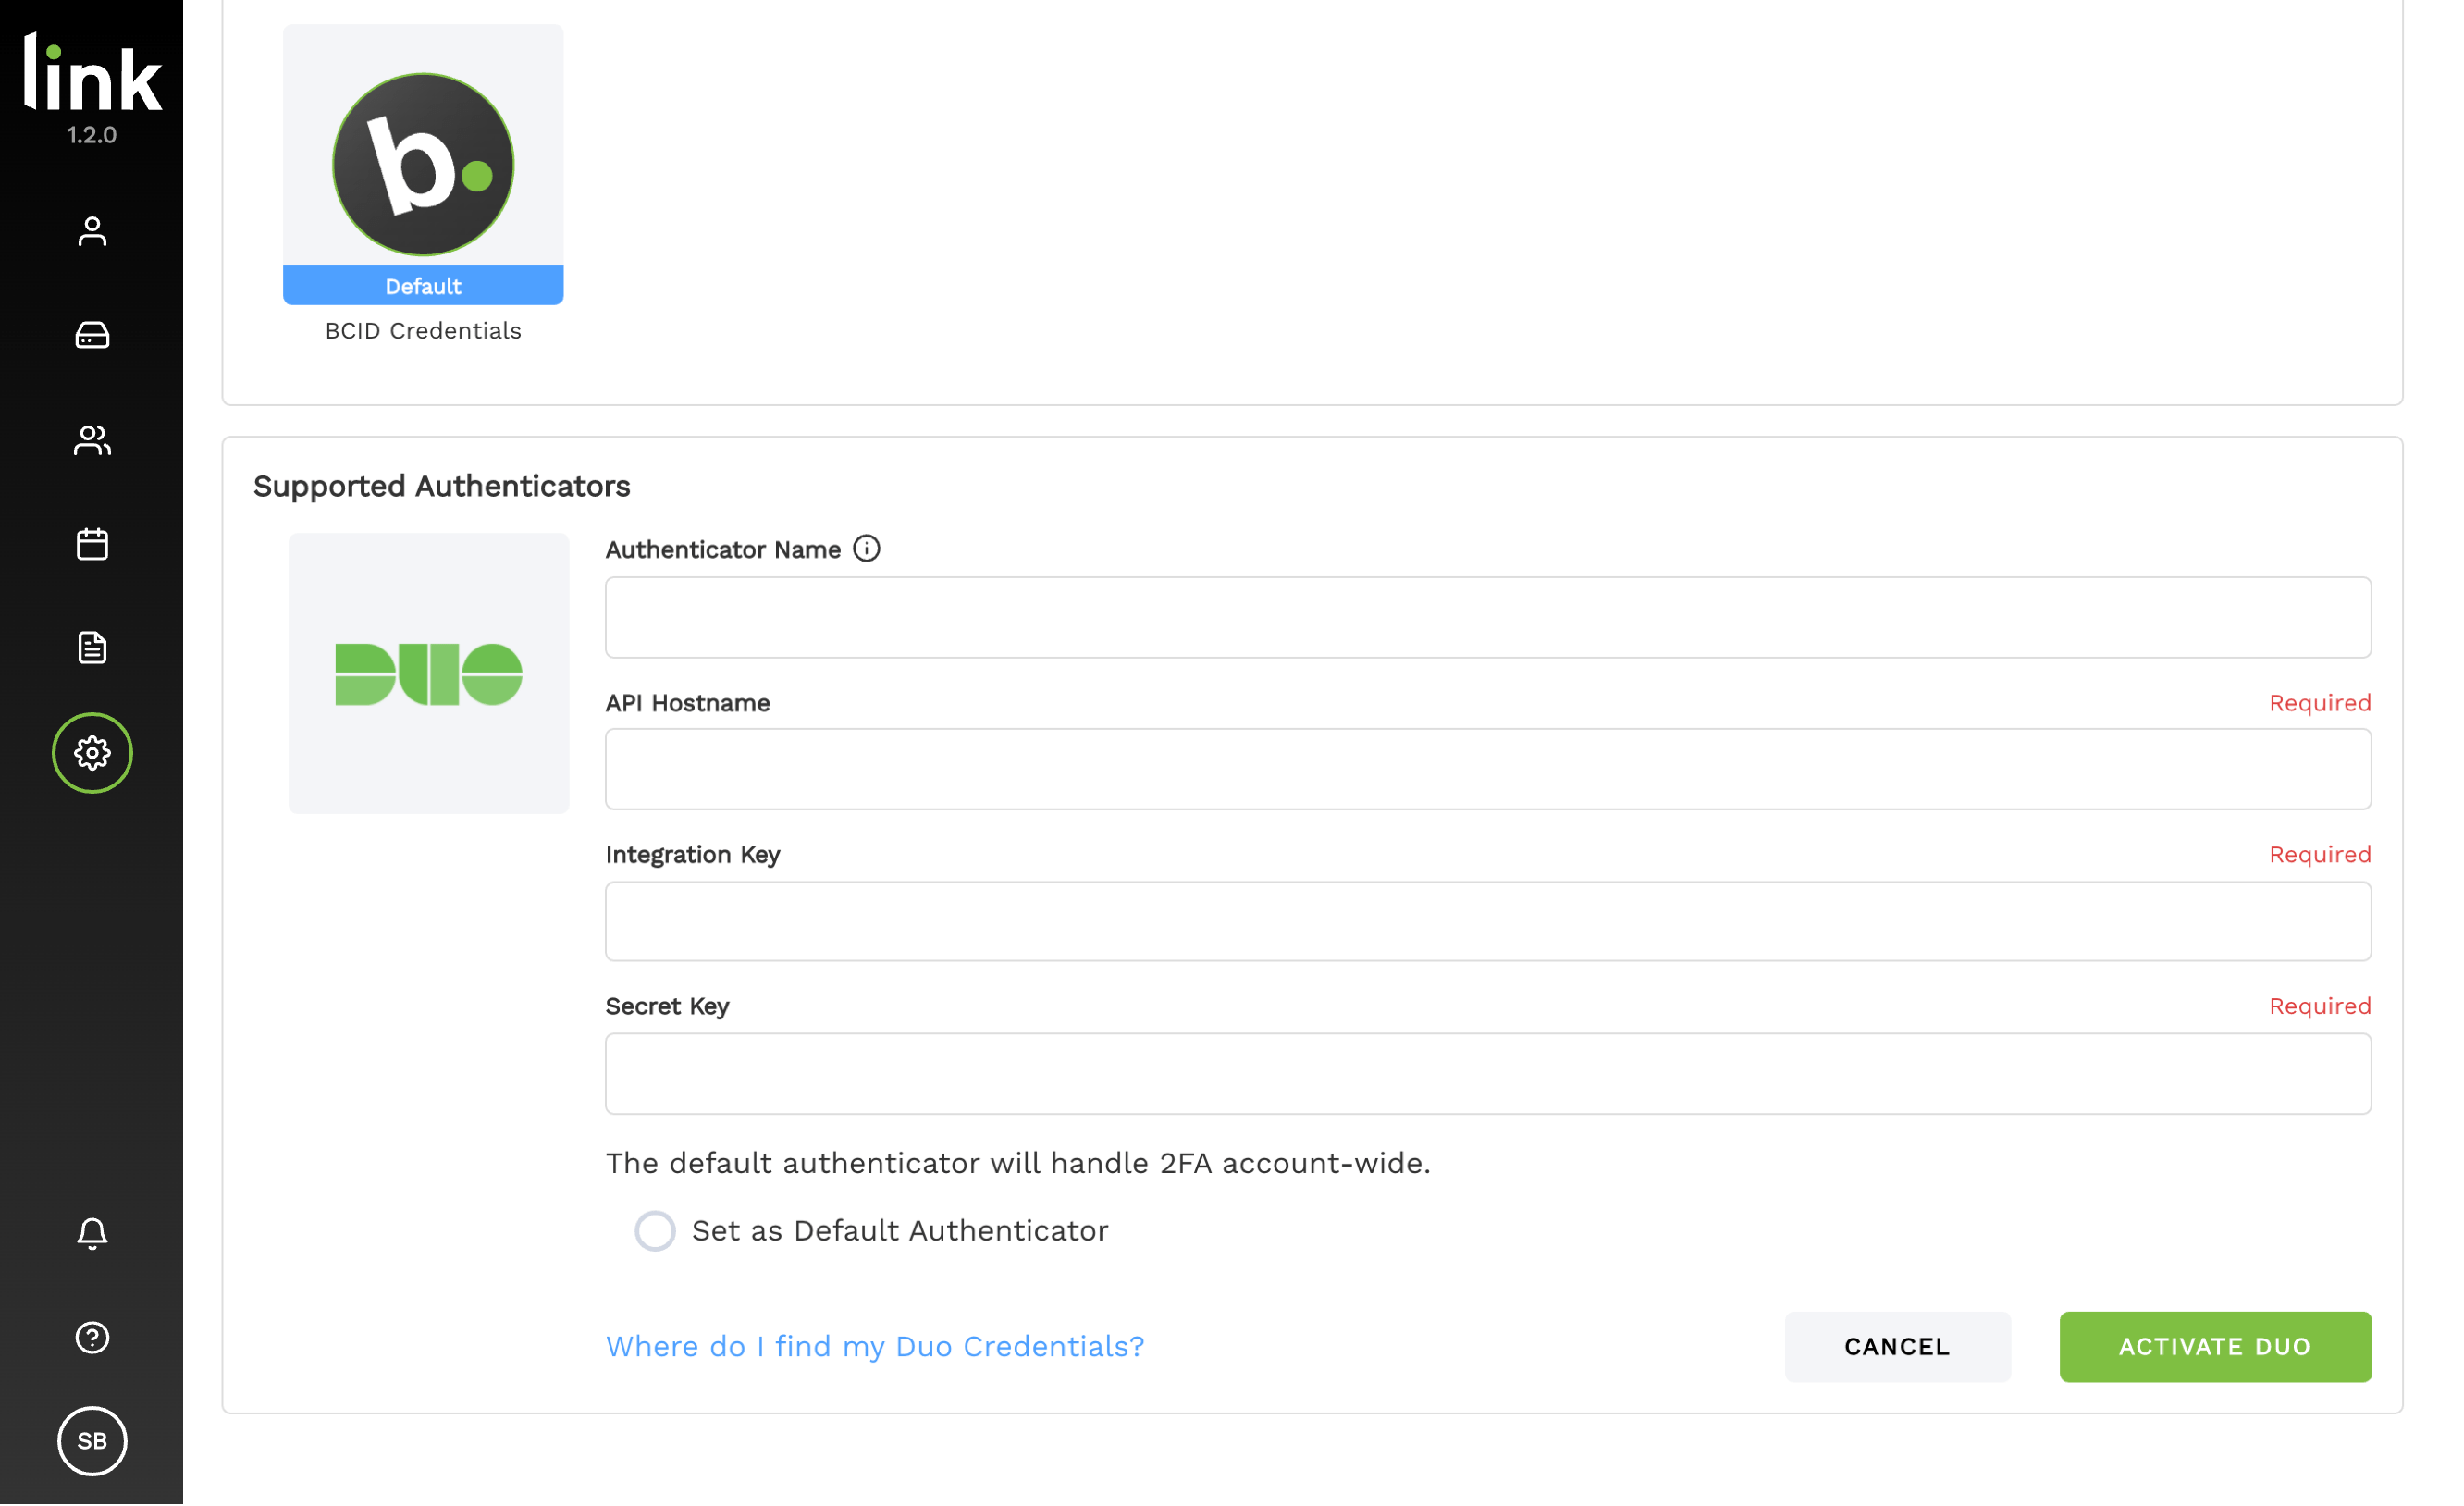
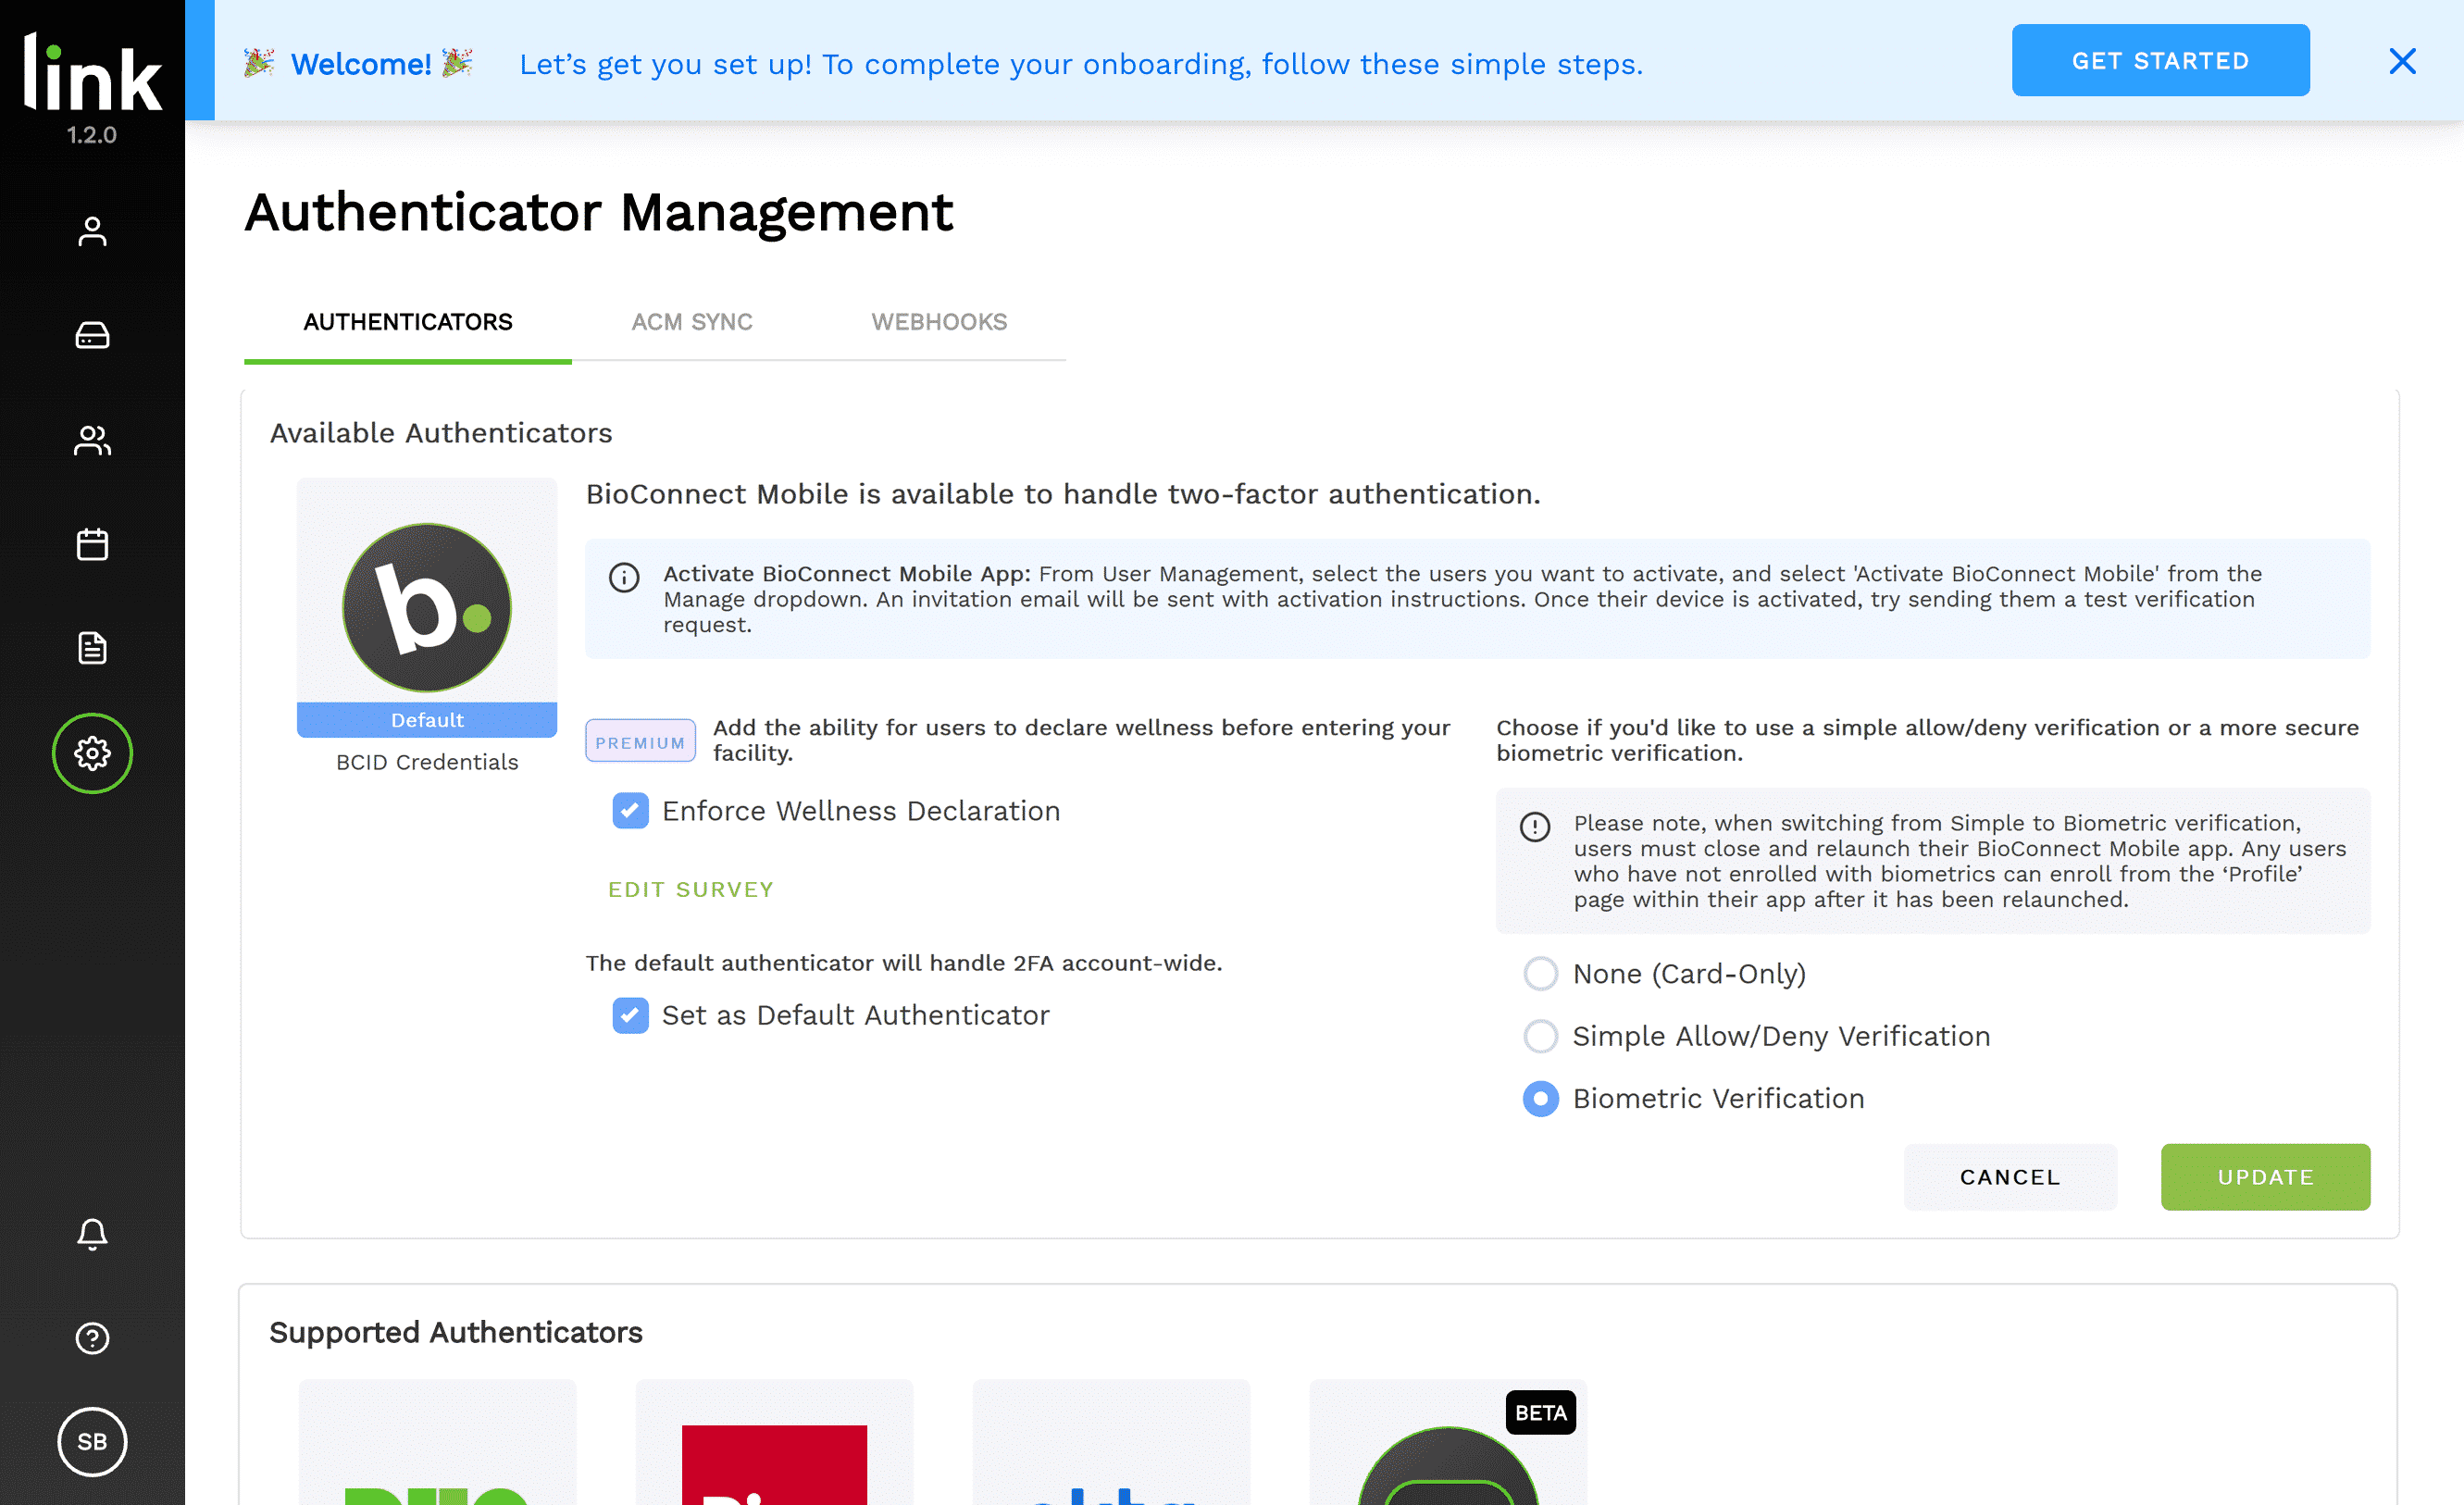
      The ACM Sync will automatically and securely pull users details, encrypted card details, and 3rd party IDs (second-factor authentication credentials).

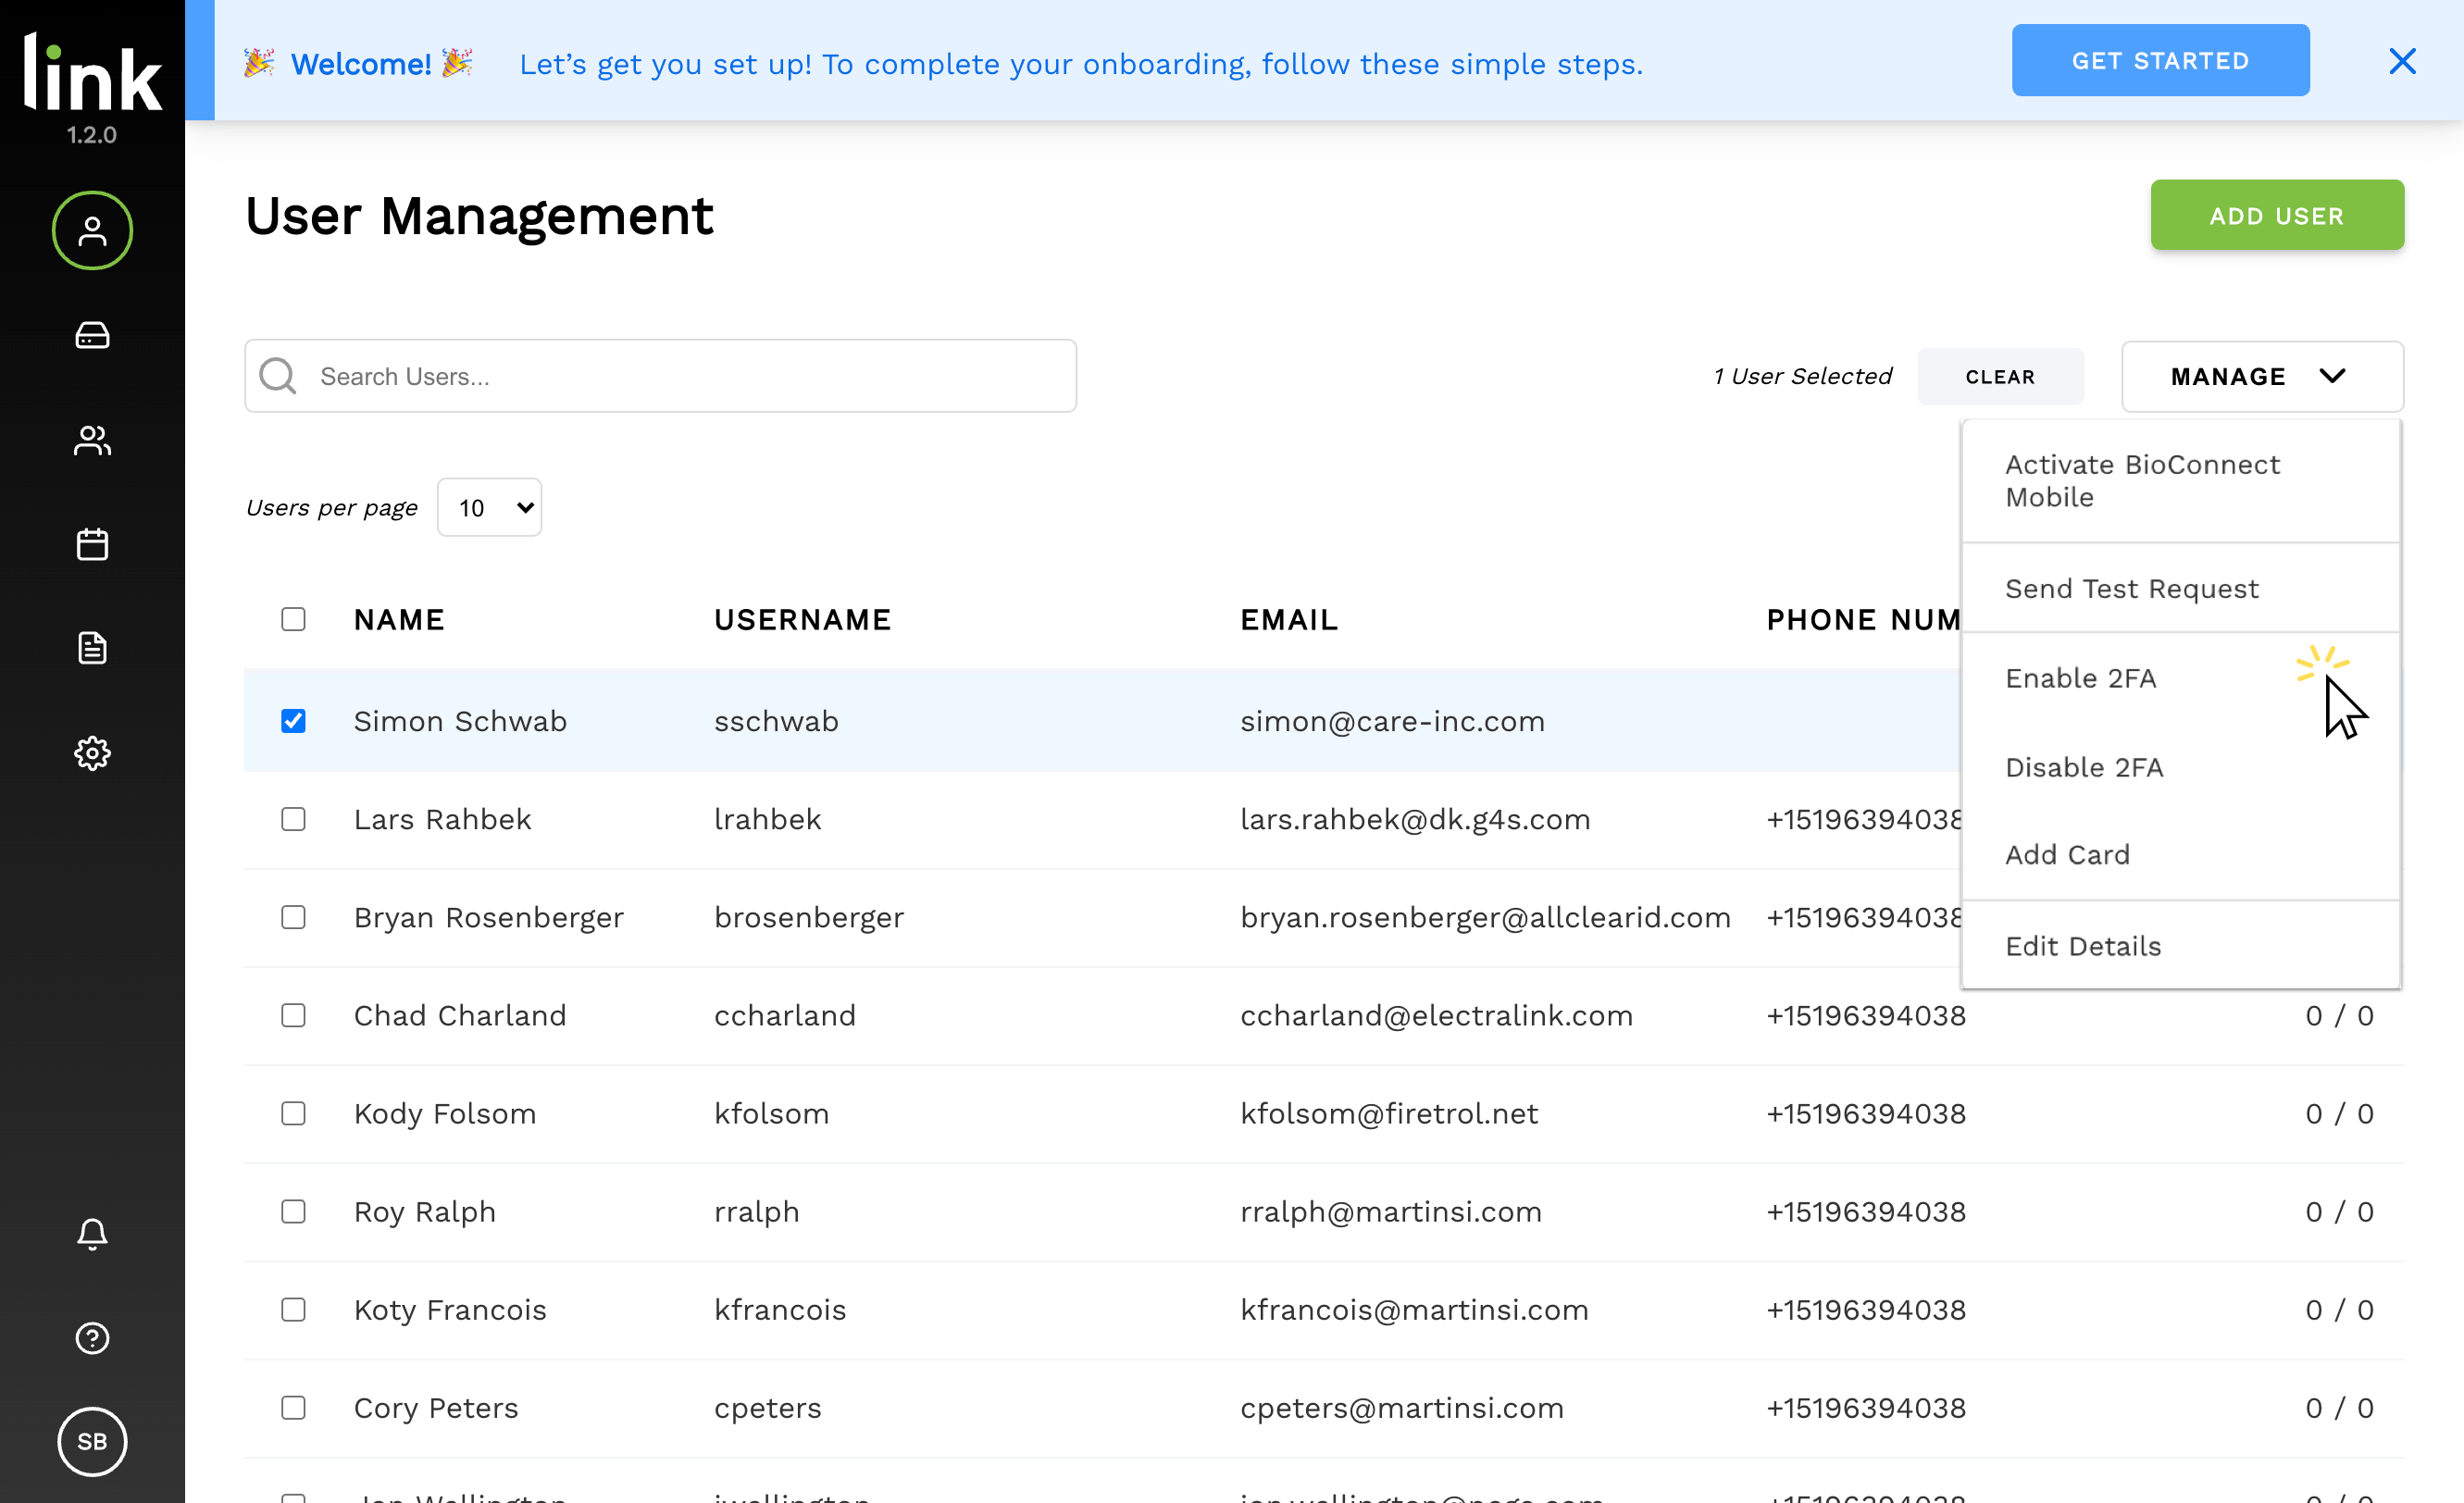
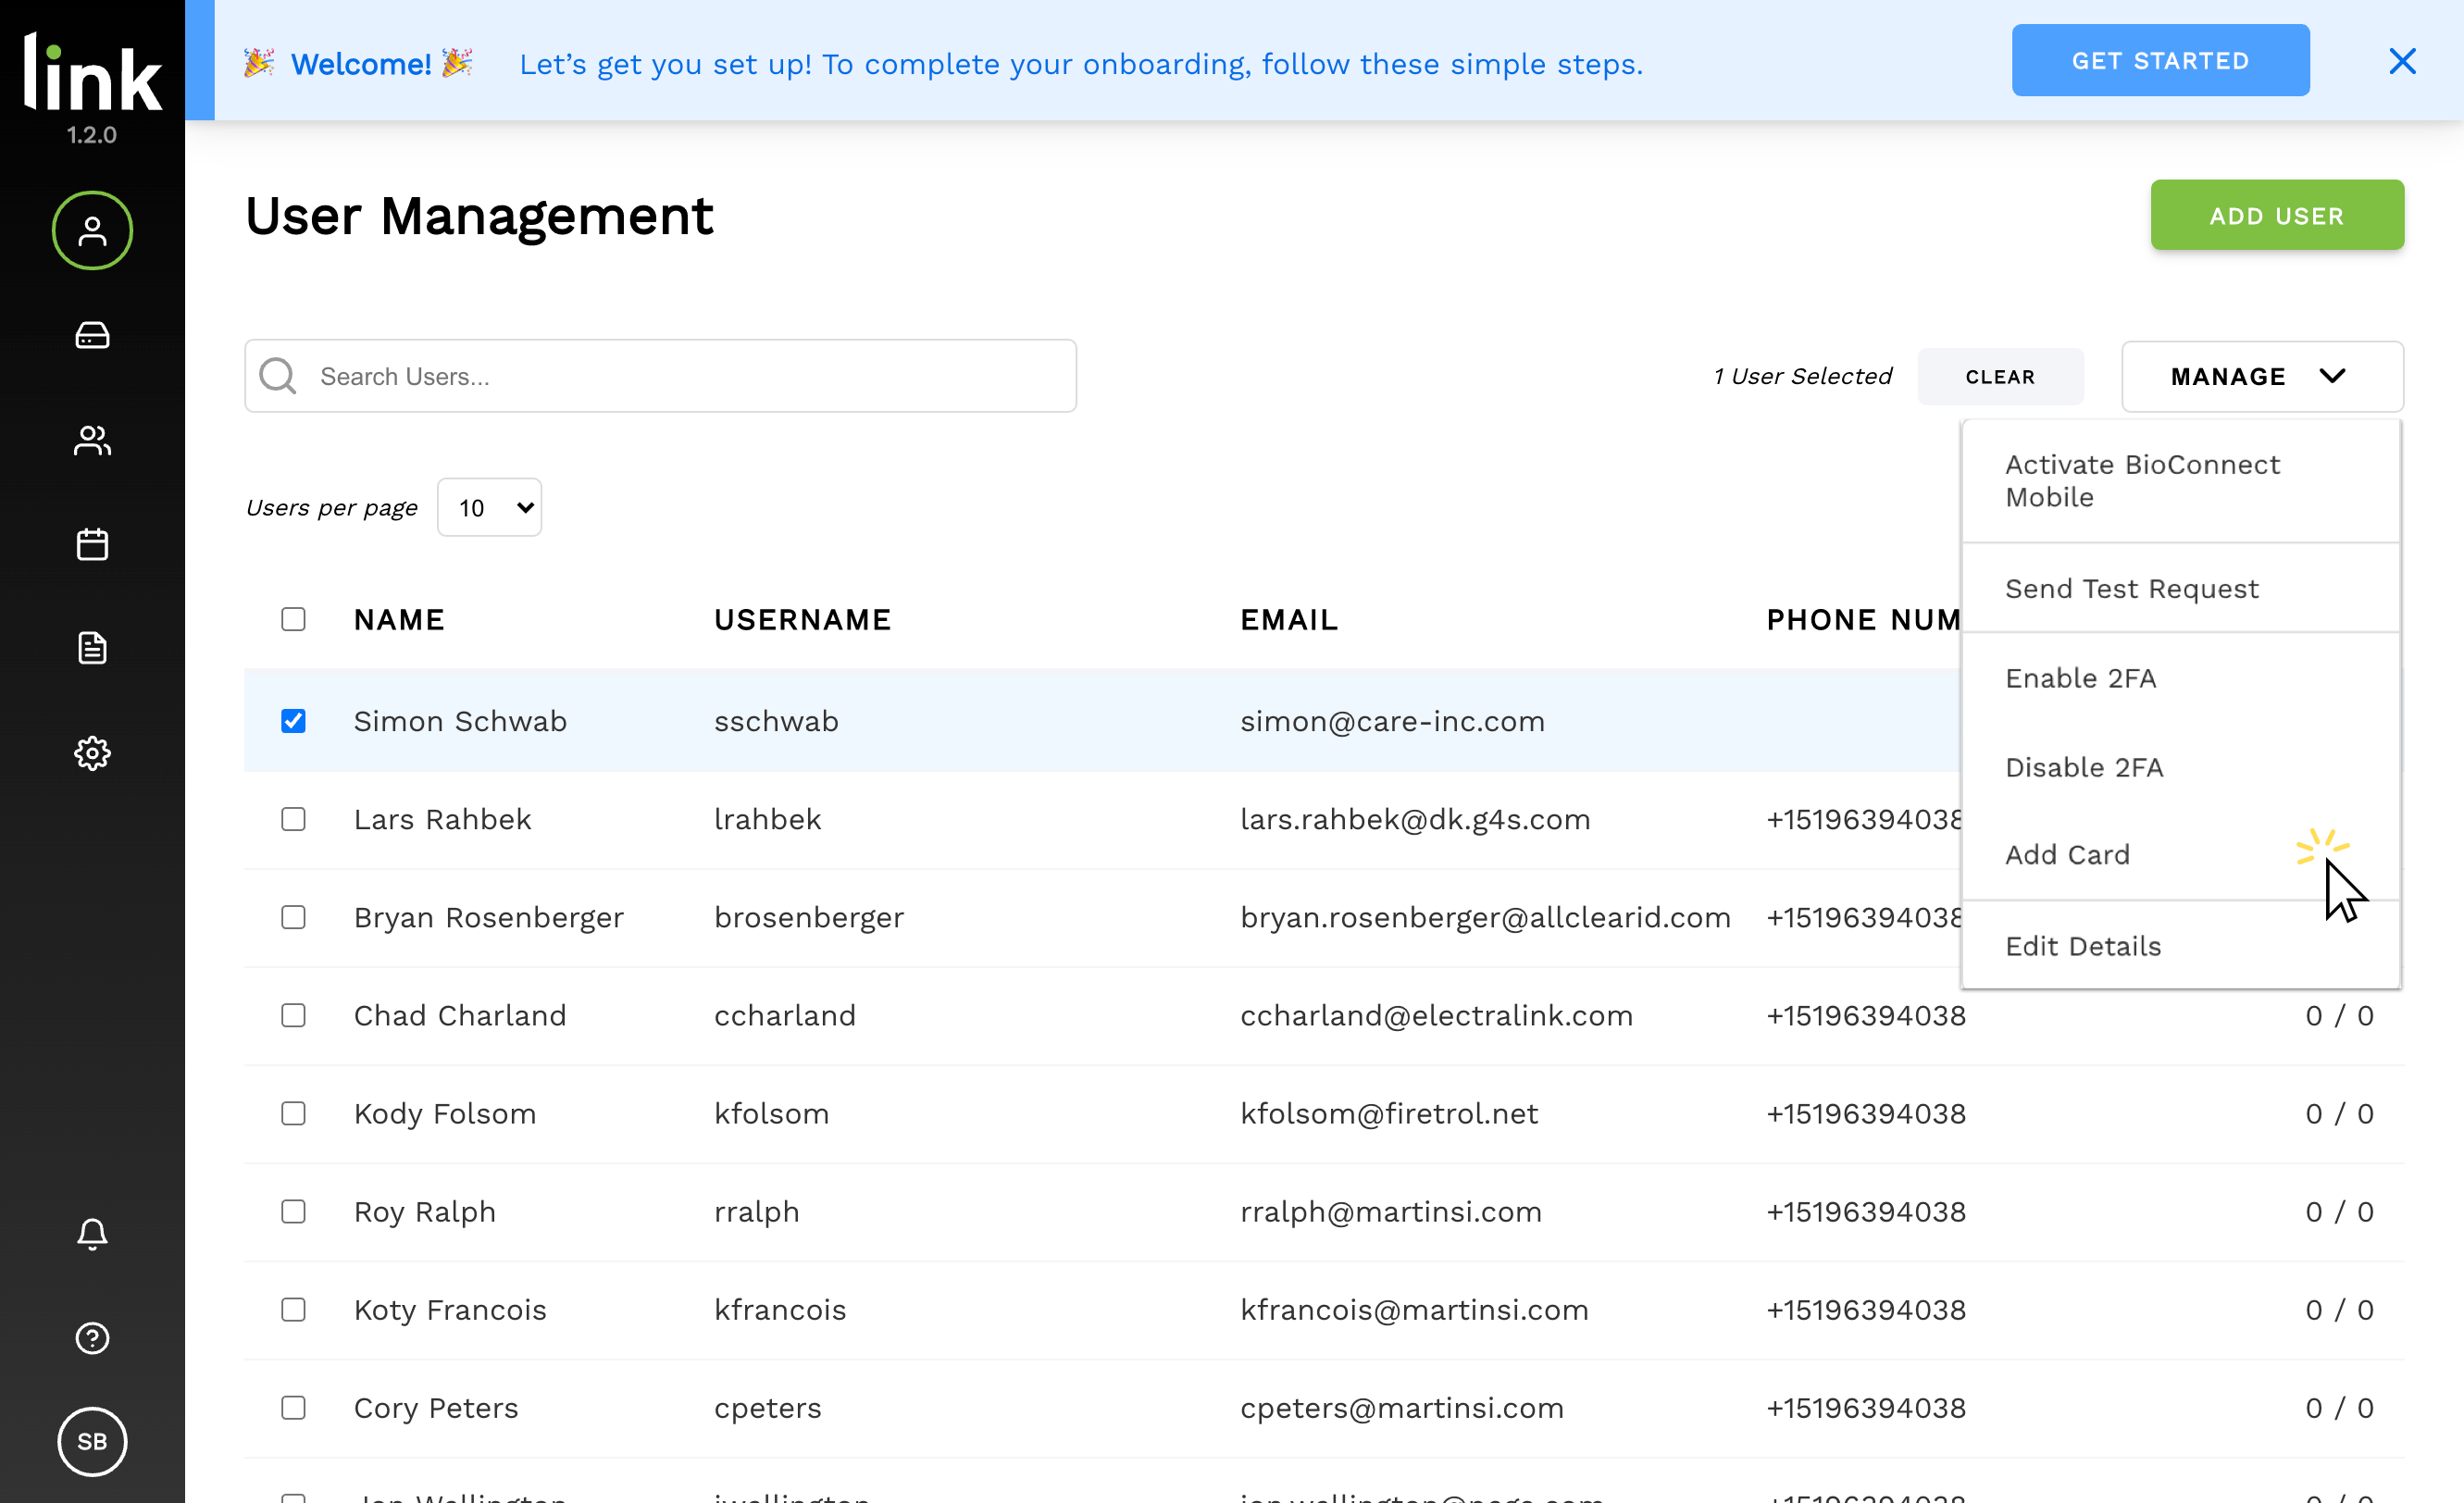
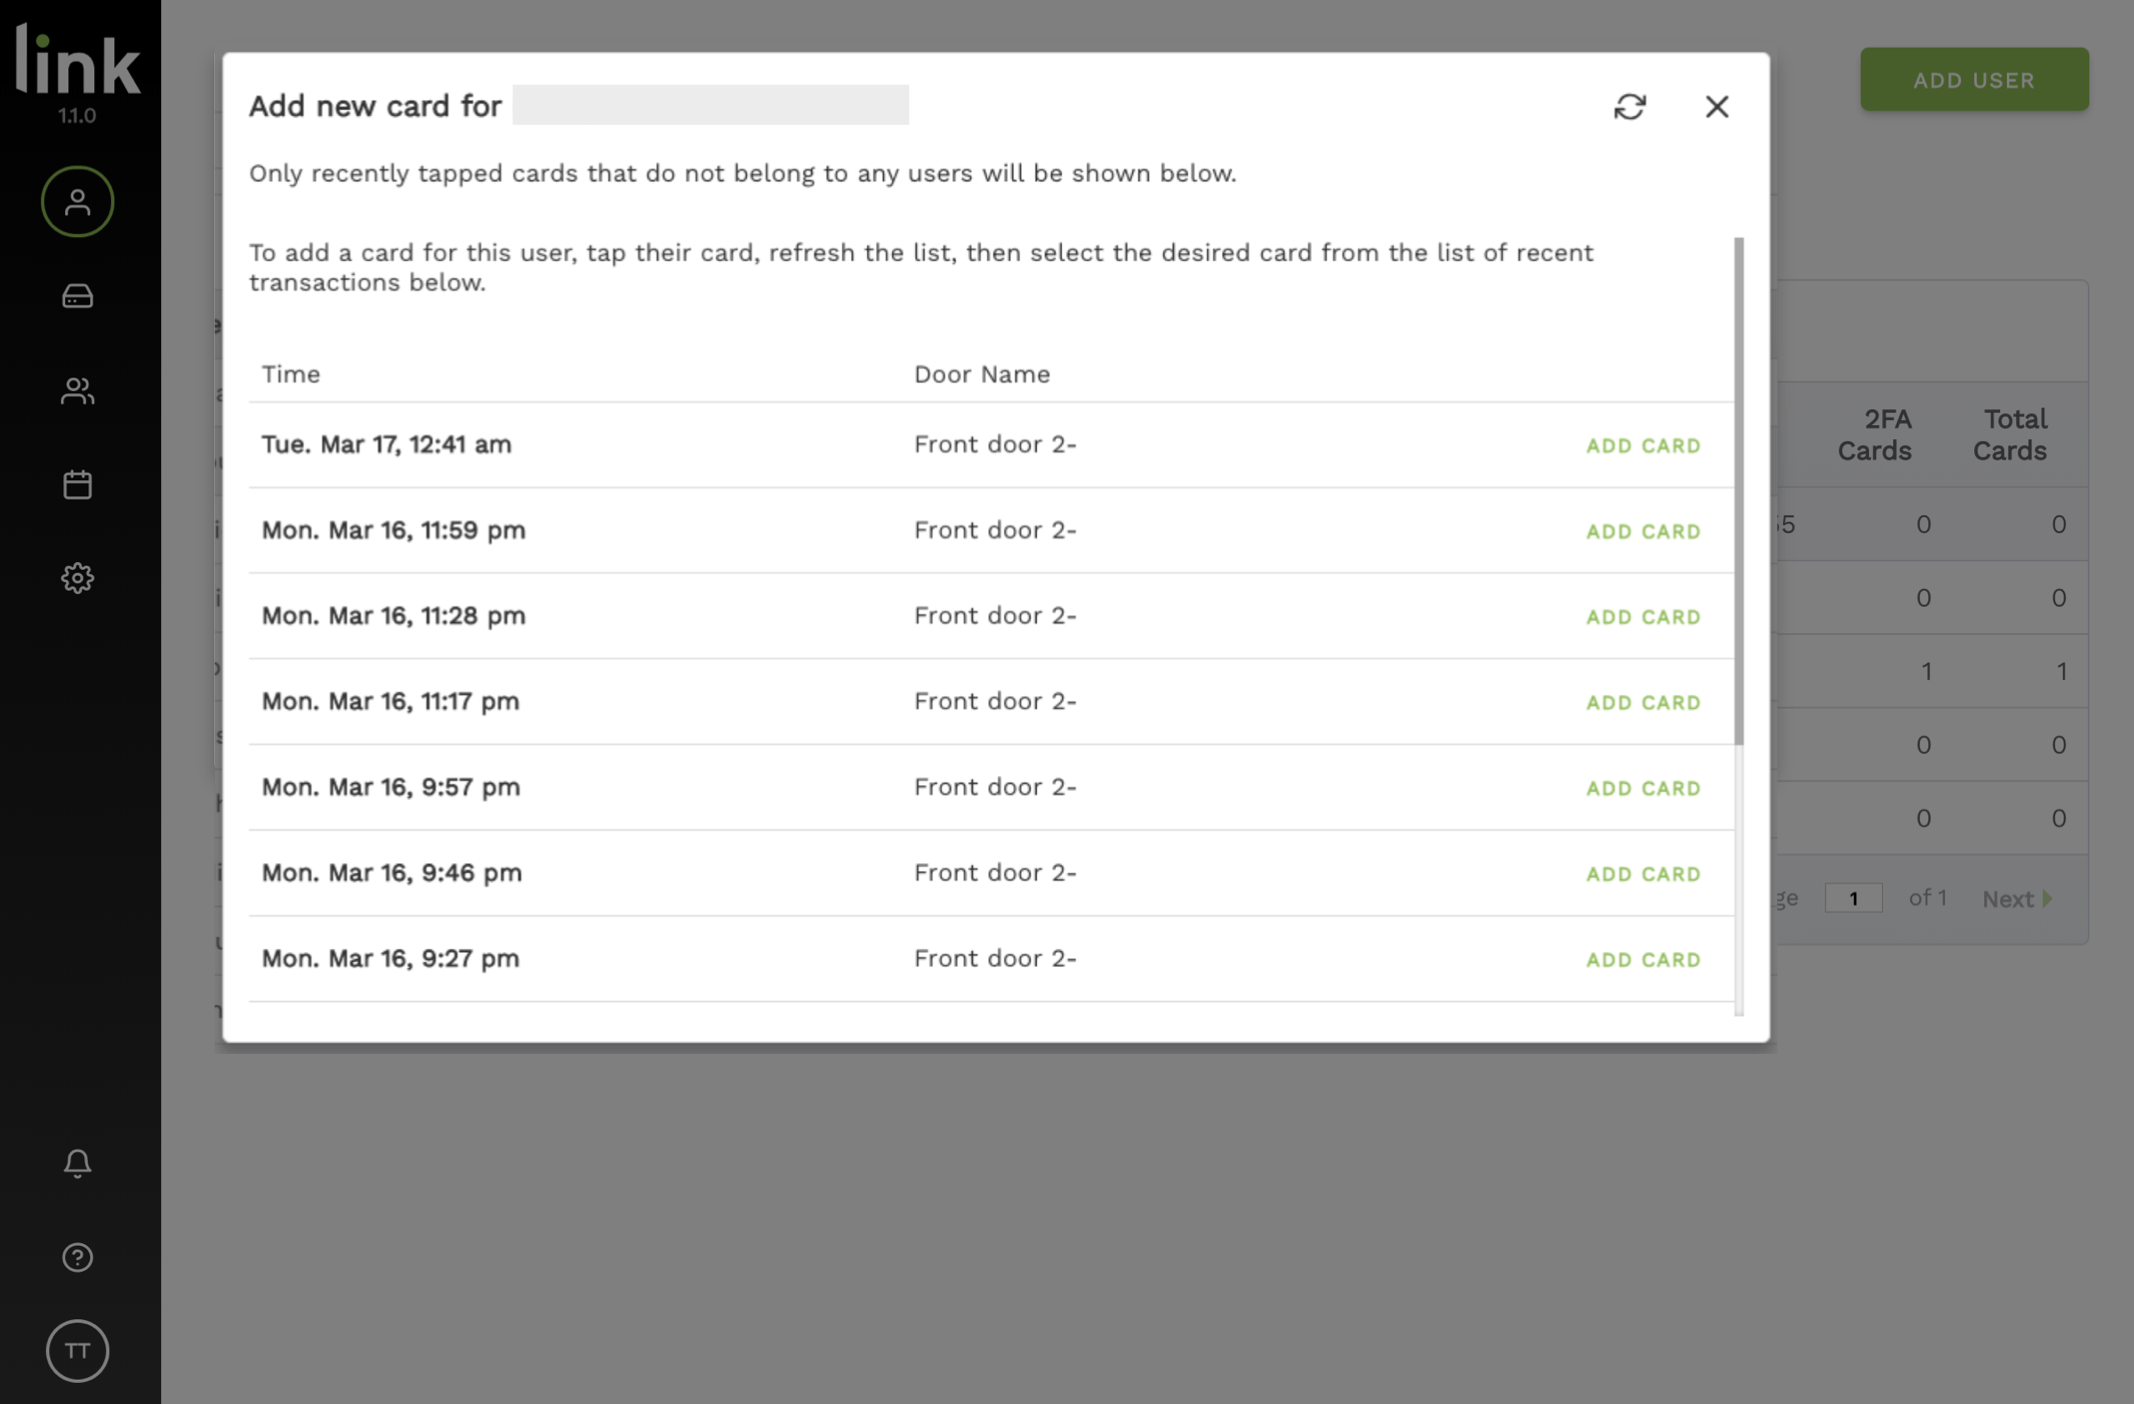
      Card details and 3rd party IDs are required to enable two-factor authentication within Link.

      Requirements

      Before you begin, ensure you have all of the following available:

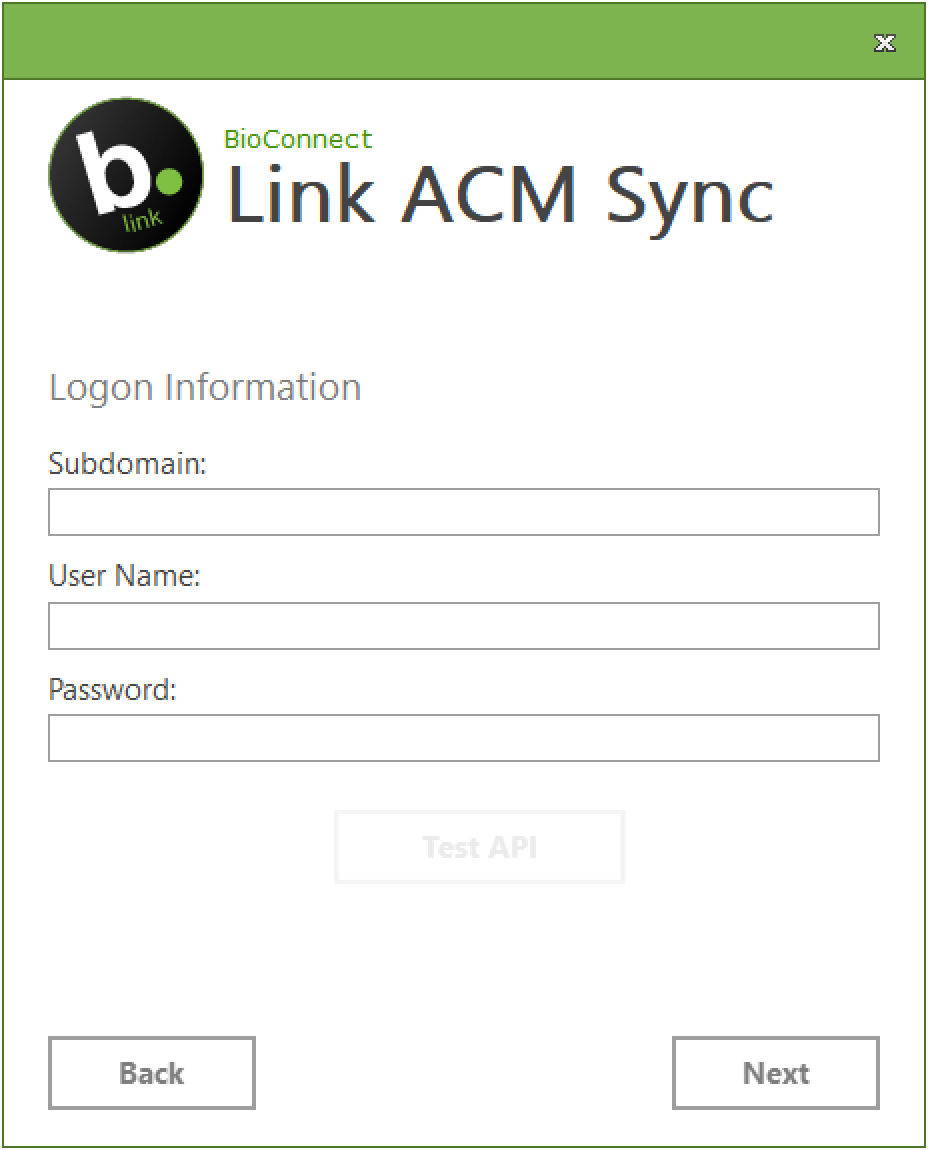
      • Link Account Login Credentials
      • ACM Server Credentials
      • Knowledge of your ACM, such as where your ACM stores 3rd party IDs (eg. Active Directory credentials).


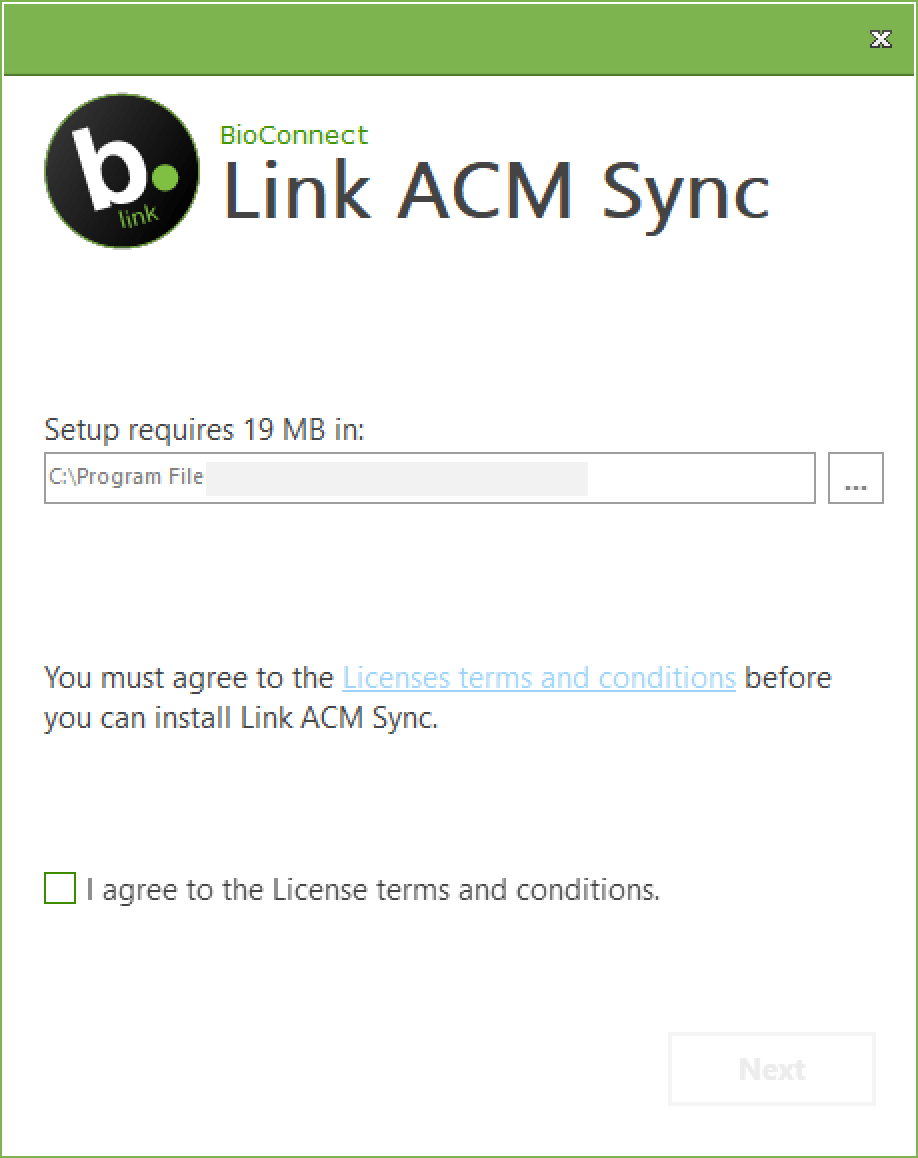
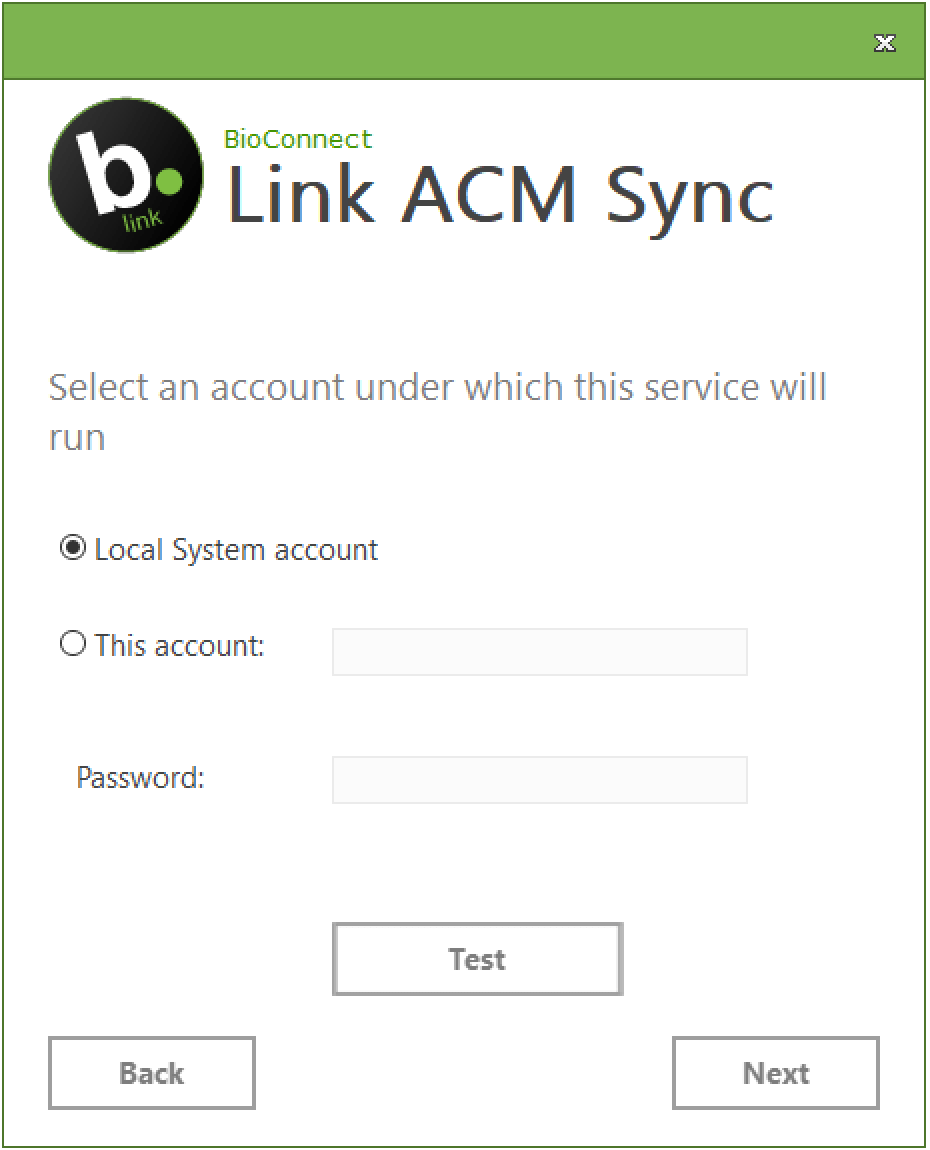
      To use ACM Sync, Contact Us and for install file.

      Installing the ACM Sync

      1. Run the ACM Sync installer and follow the on screen prompts.

      Important: Ensure to install on a network that can access your ACM server.

      2. Review the terms and conditions and choose a download location.

      3. Enter credentials and then test the connection to the Link Cloud by selecting ‘Test API‘.

      4. Choose the account under which the ACM Sync service will run.

      5. Select your ACM and provide credentials to connect to your ACM.

      6. Select where the 3rd Party ID is stored and click ‘Install‘.

      7. Once the installation is complete, the ACM Sync will begin to automatically sync users every 5 minutes. To ensure the installation was successful, confirm that users have been added to the Link Console ‘User Management‘ page.

      Note: A first time sync may take more time depending on the size of your database.

      Adding Users Manually

      If you choose to not use the ACM Sync, you can manually add users to the Link Console.

        1. In the BioConnect Console, navigate to the ‘Users’ page.

        2. Select ‘Add User’.

        3. Enter your user’s information: first name, last name, and Duo username. Do not select ‘Add User’ yet.

        Tip: For most customers, your Duo usernames are located in your Active Directory account, but can also be verified through your Duo dashboard.

        4. If you are ready to add your card to this user, have the card scanned at an active Link door.

        Tip: If you want to add the user’s cards at a later time, see User Management below to learn how to add a card to an existing user.

        5. After the user’s card has been scanned, select the ‘Add Card’ checkbox and click ‘Add User’.

        6. After the card has been added, check to ensure it has been successfully added by looking at the ‘Total Cards’ column.

        User Management

        After your Link device has been installed, your software has been configured and your users have been added, you can now enable step up for your users.


        How to Enable Step Up for Users

        1. Choose the users you wish to enable step up for by selecting the check box beside their name.

        Tip: To enable users in bulk, select the top checkbox located beside ‘Name’ in the header column (as shown in the image below). This will select all users on this screen. If there are multiple pages, this must be replicated for each page.

        2. Once you’ve highlighted your user(s), click on the ‘Manage’ button and select ‘Enable 2FA’ from the drop-down list.

        Adding a Card to an Existing User

        If you did not add cards to your users when initially adding them to the system, you can add them to your existing users at a later time

        1. Have your user scan their card at an active Link door

        2. Navigate to the BioConnect Console ‘Users’ page and select the user

        3. Select ‘Manage’ and then select ‘Add Card’

        4. The system will search for the most recent transactions, where you will see the transaction from your user’s card. Once you’ve located the correct transaction, select ‘Add Card’.

        Tip: There are a few ways to ensure you are selecting the correct transaction:

        • Review the time stamp of the transaction to ensure it matches with the card was scanned. The most recent transactions appear at the top.
        • Review the door details – if you know the door that the card was tapped at, you can verify it in those columns.

        Verifying Step Up is Enabled

        Once your device has been installed, software configured, and your users and cards have been added, you can test to ensure your step up is working.

        1. In the BioConnect Link Console ‘Users’ page and select a user to test.

        2. Press the ‘Manage’ button and select ‘Send Test Request‘ from the drop down list.

        3. If the test user receives their step-up notification to their device, step-up has been successfully enabled.

        Tip: The selected user must have step-up enabled cards.

        Group Management

        After your users have been added to the system, you can now create groups to manage alerts and notifications for specific users and devices.


        How to Create a User Group

        1. In the Link Console, navigate to the Group Management tab and select ‘Add Group‘.

        2. Enter the fields required: Group name, Description, and the desired users to receive alerts for this particular group – and then click ‘Continue‘ to proceed.

        3. Select the desired users to be added to this group and then select ‘Continue.

        4. Select the desired devices to be added to this group and then select ‘Continue.

        5. Review the group details and select ‘Add Group‘.

        After the group has been added, it will now appear on the group management screen.

        Forgot Password

        How to reset your password

        If you’ve forgotten your password, you can access your account by resetting it. 


        1. On the Link Console login screen, select ‘Forgot Password‘.

        2. Complete the form by entering your subdomain and username, then select ‘Reset Password‘.

        3. Open the email and select the ‘Reset Password‘ button. This will open up a browser where you can now enter a new password.

        Appendix

        Appendix A

        If you are adding more than one device, it may be faster to add them via QR code.


          1. Using a smartphone, scan the QR code located on the device using your phone camera and tap on the link that appears.

          • You can do this by opening your smartphone’s camera and hovering over the QR code until a notification appears.
          • Click on this prompt to open a web browser where you will be asked to enter: Subdomain, Username and Password.

          2. Enter your subdomain, username and password.

          3. The MAC address will populate, tap ‘Continue’.